
The second time in the lighting studio I found worked better as I was able to get the same framing with each of the images, which means that for my final photos they all look cohesive. I also made sure to shoot in all portrait image as I wanted them all to be portrait style images for the final prints. I booked both the black and white studios so I was able to use both spaces and get the images I wanted from both.
Category: Experiments


Experiment Eleven // Lighting Room 1st shoot
One of the main things I took away from these experiments is how important the right lighting is for portrait photography. Because I had never really done studio portrait photography before, I was quite unaware of how important lighting situations were until the first experiment in the Lighting studio with Marcos and Dominique.
The first experiment was really informative, though I was underprepared for my role in being the model as I was very unaware of how to create images using my expressions.
I also realised after taking the photos that I needed the images I was going to use to all be in similar framing as it wouldn’t work properly as a series of images. This meant that I needed to use the lighting studio again but was more prepared for what exact images I wanted to produce were to look like. We also tested in both the white and black studio, which gave for very different effects to the Images.


Experiment Ten // Photoshop exploration
The other experiments I did through photoshop was using photographs I took that were just of standard portraiture, where I set up lighting and used a self-timer to create the images by myself. I found that this was quite difficult because my lighting was okay, but wasn’t giving me a professional look. This was noticeable after the fact when I was editing the images through photoshop to portray colours with emotions. I experimented with different effects, using layers behind the subject and then also in front. Another option I was looking at was using words to incorporate within the imagery. Though after trying it, I wasn’t overly happy with how it turned out so decided to think of other ways I was going to be able to get better effects over the images.


Experiment Nine // Typeface
One of the ideas I had behind self-identity was handwriting. One of the things people look for when they identify people is their handwriting, as it’s a very unique aspect of someone. I decided to create my own typeface based off of my own handwriting.
I wrote out many times the alphabet and used the most aesthetically pleasing letters. I wanted to create something that was uniquely me, and through some basic knowledge of creating typefaces from previous projects, I was able to create Emahmaii Handwritten. I was able to create it to be a completely workable typeface. I originally wanted to incorporate it with the fingerprints and as graphical elements over/under the photographs. I didn’t end up using the typeface through my imagery but have used it through this exegesis as my header typeface.


Experiment Eight // Digital Drawing
The first photoshop experiment I tried was to create a digital illustration of one of the photographs of my eye. I wasn’t quite sure what I was trying to achieve, but thought it could be an interesting element, or way of using photography but also a digital element. Though in the end, I didn’t really like what I was producing, and it didn’t really go with my theme of ‘aura’ much, so I decided to not continue with that any further.


Experiment Seven // Finger prints


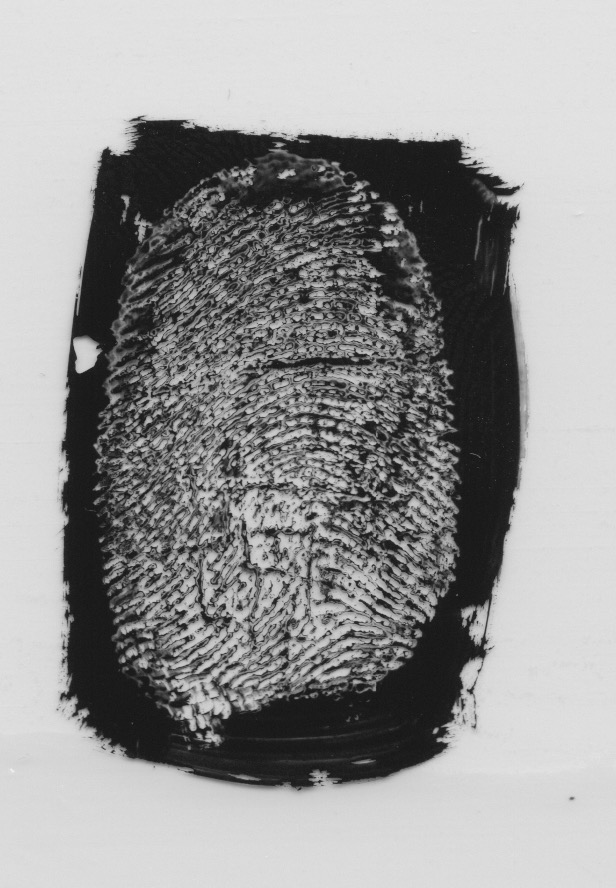
I used ink and used different fingers for various pressures. This kind of worked, and I was semi-happy with the result of the copies. When I was creating the prints, I accidentally pressed on glossy paper, which then gave me a different effect of pulling the ink up instead of placing it down, which I found gave more details of the fingerprints instead of pressing it onto paper. I found some plastic and painted rectangles with ink and created inverted prints.
Using the inverted prints, I was then able to create lines and paths through illustrator so I was able to have a file I could work with to create patterns or use as an underlay on images, in the backgrounds.

Experiment Six // Testing Macro Photography
What was the purpose of this experiment?
For this experiment I used an extension tube, suggested by Marcos after the first meeting. I ordered it and arrived before the weekend so was able to test a couple times throughout. I put it on my 18-135mm lens on my 70D Canon camera and Tripod to try and do some closer photographs of my eye. The purpose of this experiment is to try and get as close as possible to the iris to get all of the intricate details. I tested twice throughout the weekend and use different times of the day to use different lighting. I also tested one without make-up applied and one with make-up applied.
Reflection of Experimentation
I’m finding it quite difficult to get a decent image by myself, but I am able to connect the camera to my phone and take the images remotely. I’m finding the most difficult part is getting my iris in focus, while staying in one spot. Using a tripod is essential, but I am still finding it difficult to get the framing of the images to be what I want because the images are so close. I also found out that the lens is too heavy for my tripod and it doesn’t stay in one spot for doing portrait style photography, so am having to shoot in landscape – this isn’t necessarily an issue, but I thought portrait could be an interesting angle. I also need to book the studio in the city to experiment with studio lighting along with getting help with lighting and setup. I think this will be essential in my experimental process to get various effects. The effect of having make-up applied compared to none is interesting because it creates different dimension to the images, which creates various feelings when looking at them.
Macro photography – Test One – without makeup


Macro Photography – Test Two – with makeup


Experiment Five // someone else’s eye
What was the purpose of this experiment?
I wanted to see if it would be easier to photograph someone else’s eye. This was also when I was looking at photographing various people and showing that through my photography/designs. For these photographs I took photographs of my grandmother and wanted to try and photograph her cataracts, as I thought it could be interesting.
Reflection of Experimentation
I realised after taking the images that I took them in the same ISO as my last photos (ISO1600), so they have a super grainy texture to them. Unfortunately, I forgot to change the setting, so the images didn’t turn out exactly how I wanted. But this also tells me I need to double check all the settings before taking the shot. I think the photographs still turned out well, and with various cropping and editing, I think they could be interesting.
It was after this photo-shoot that I decided on pursuing the idea of self-discovery and to only photography myself.


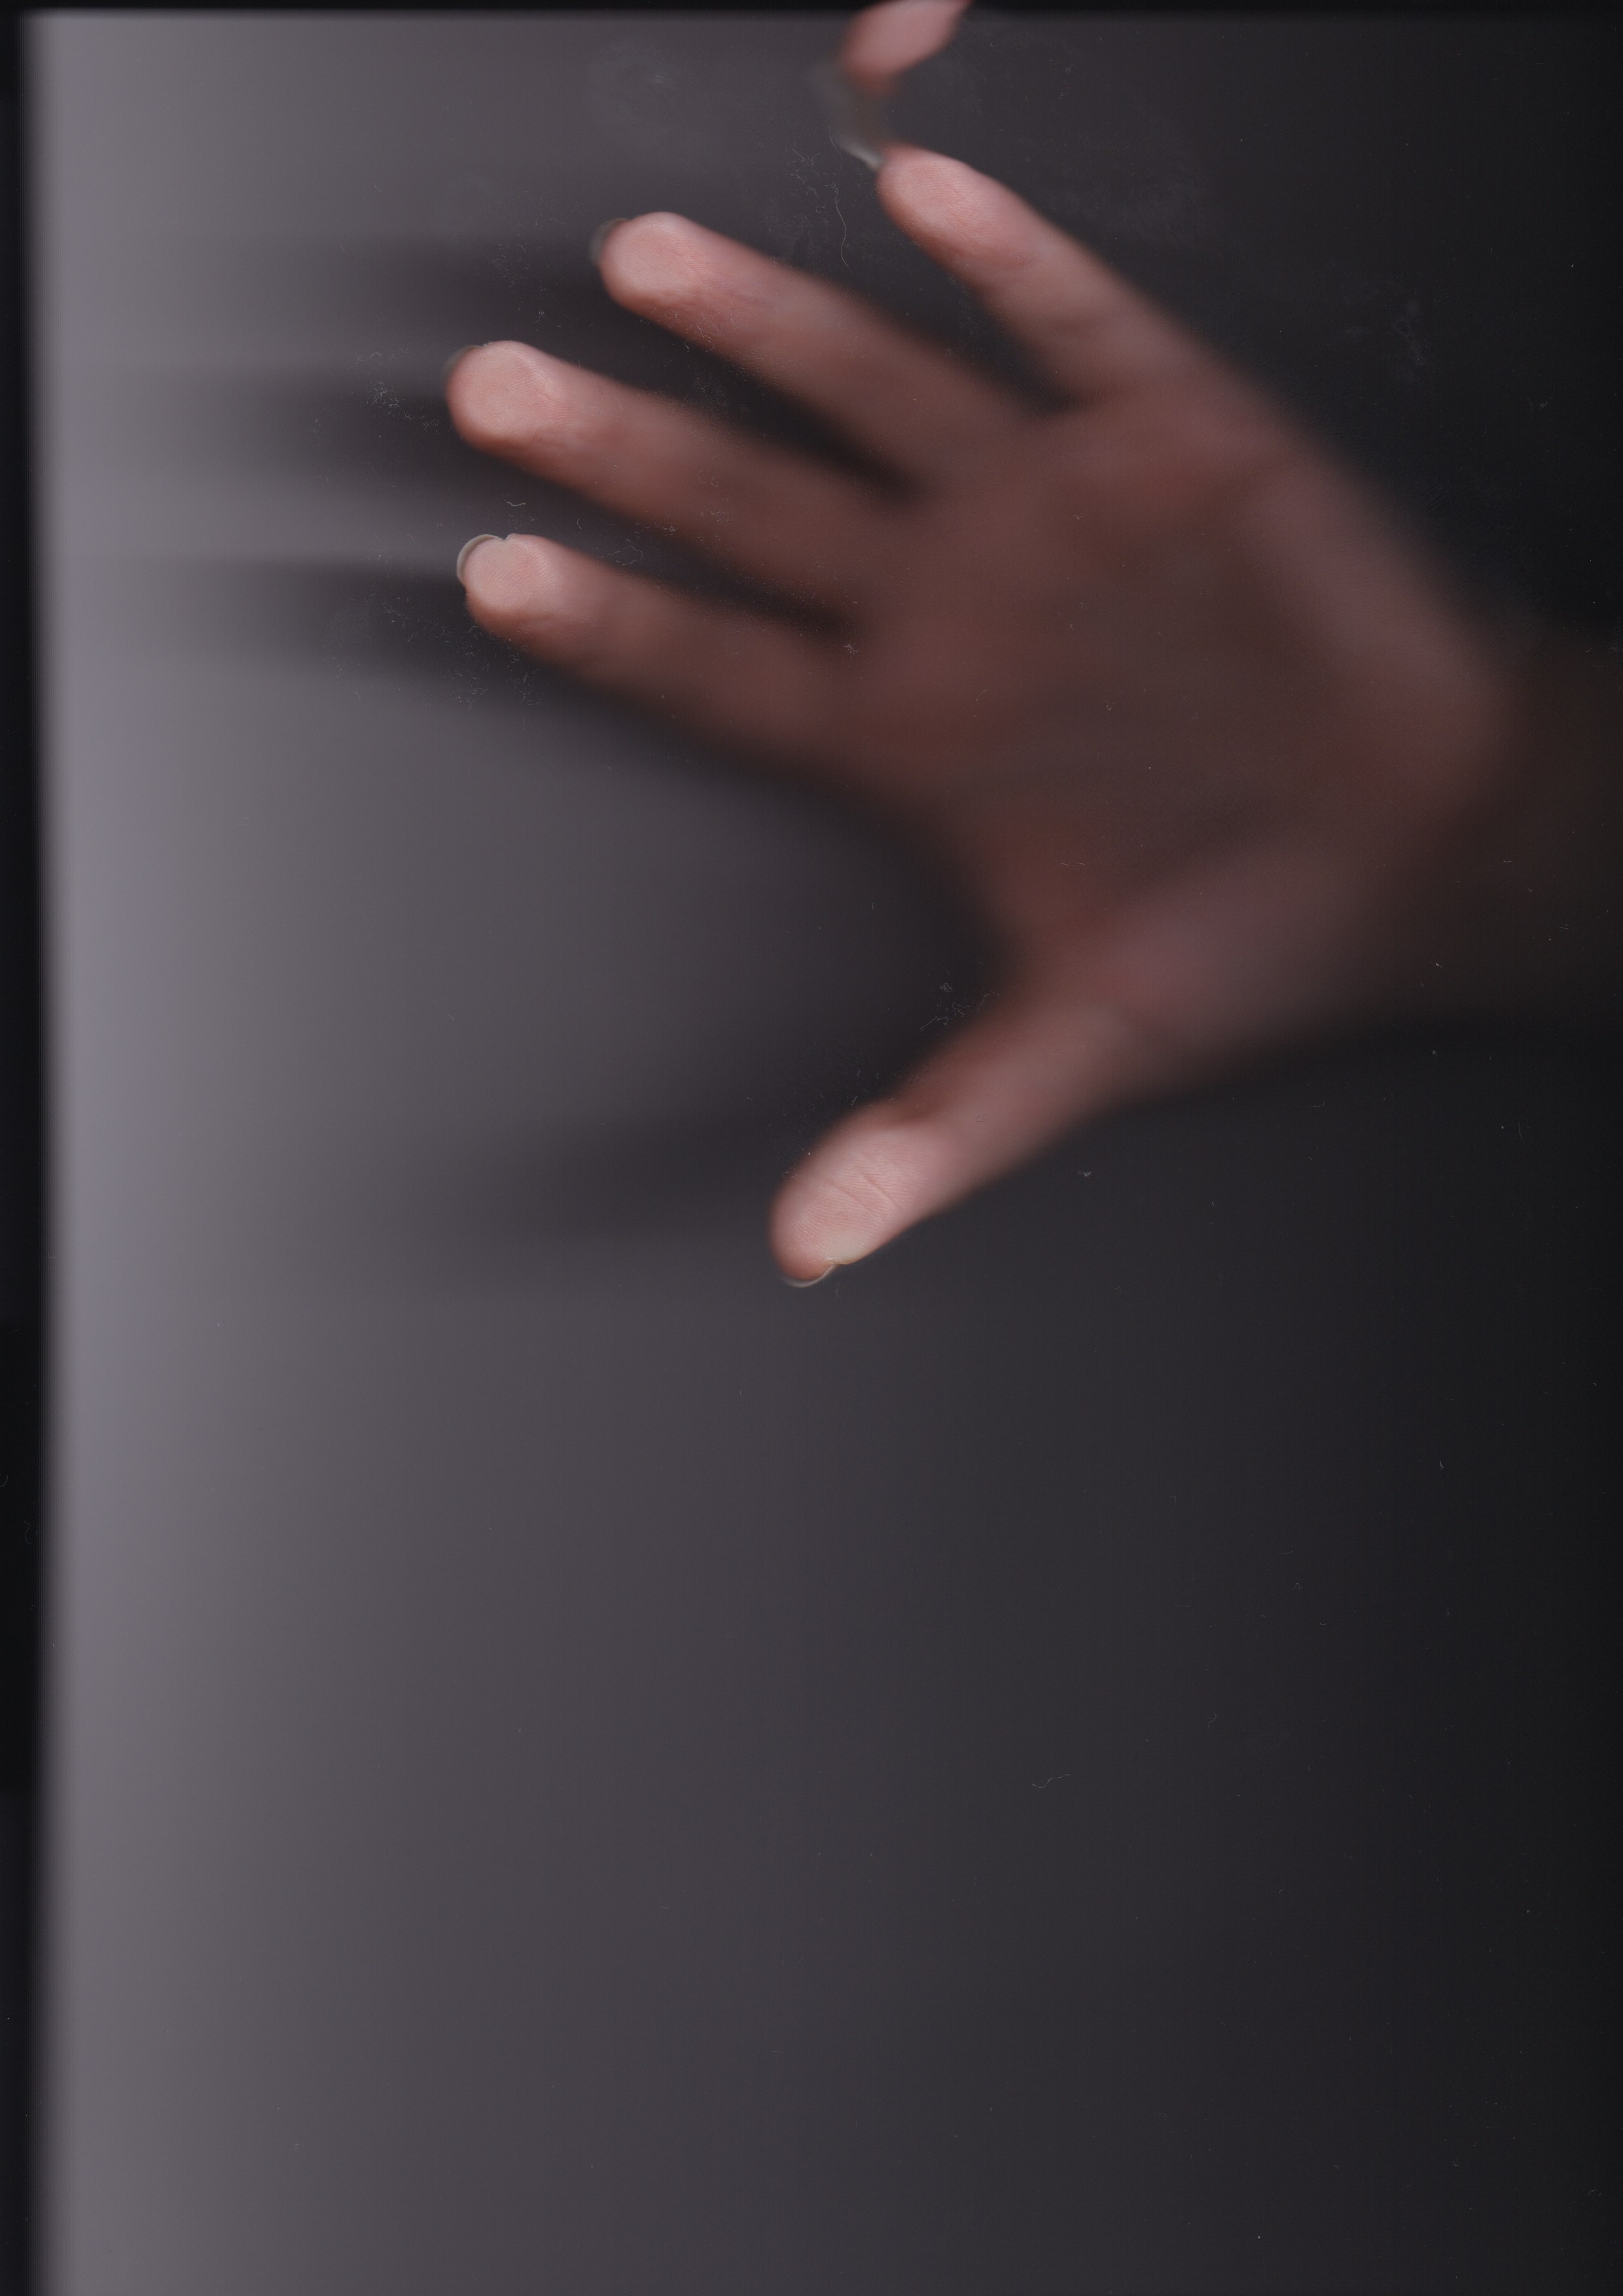
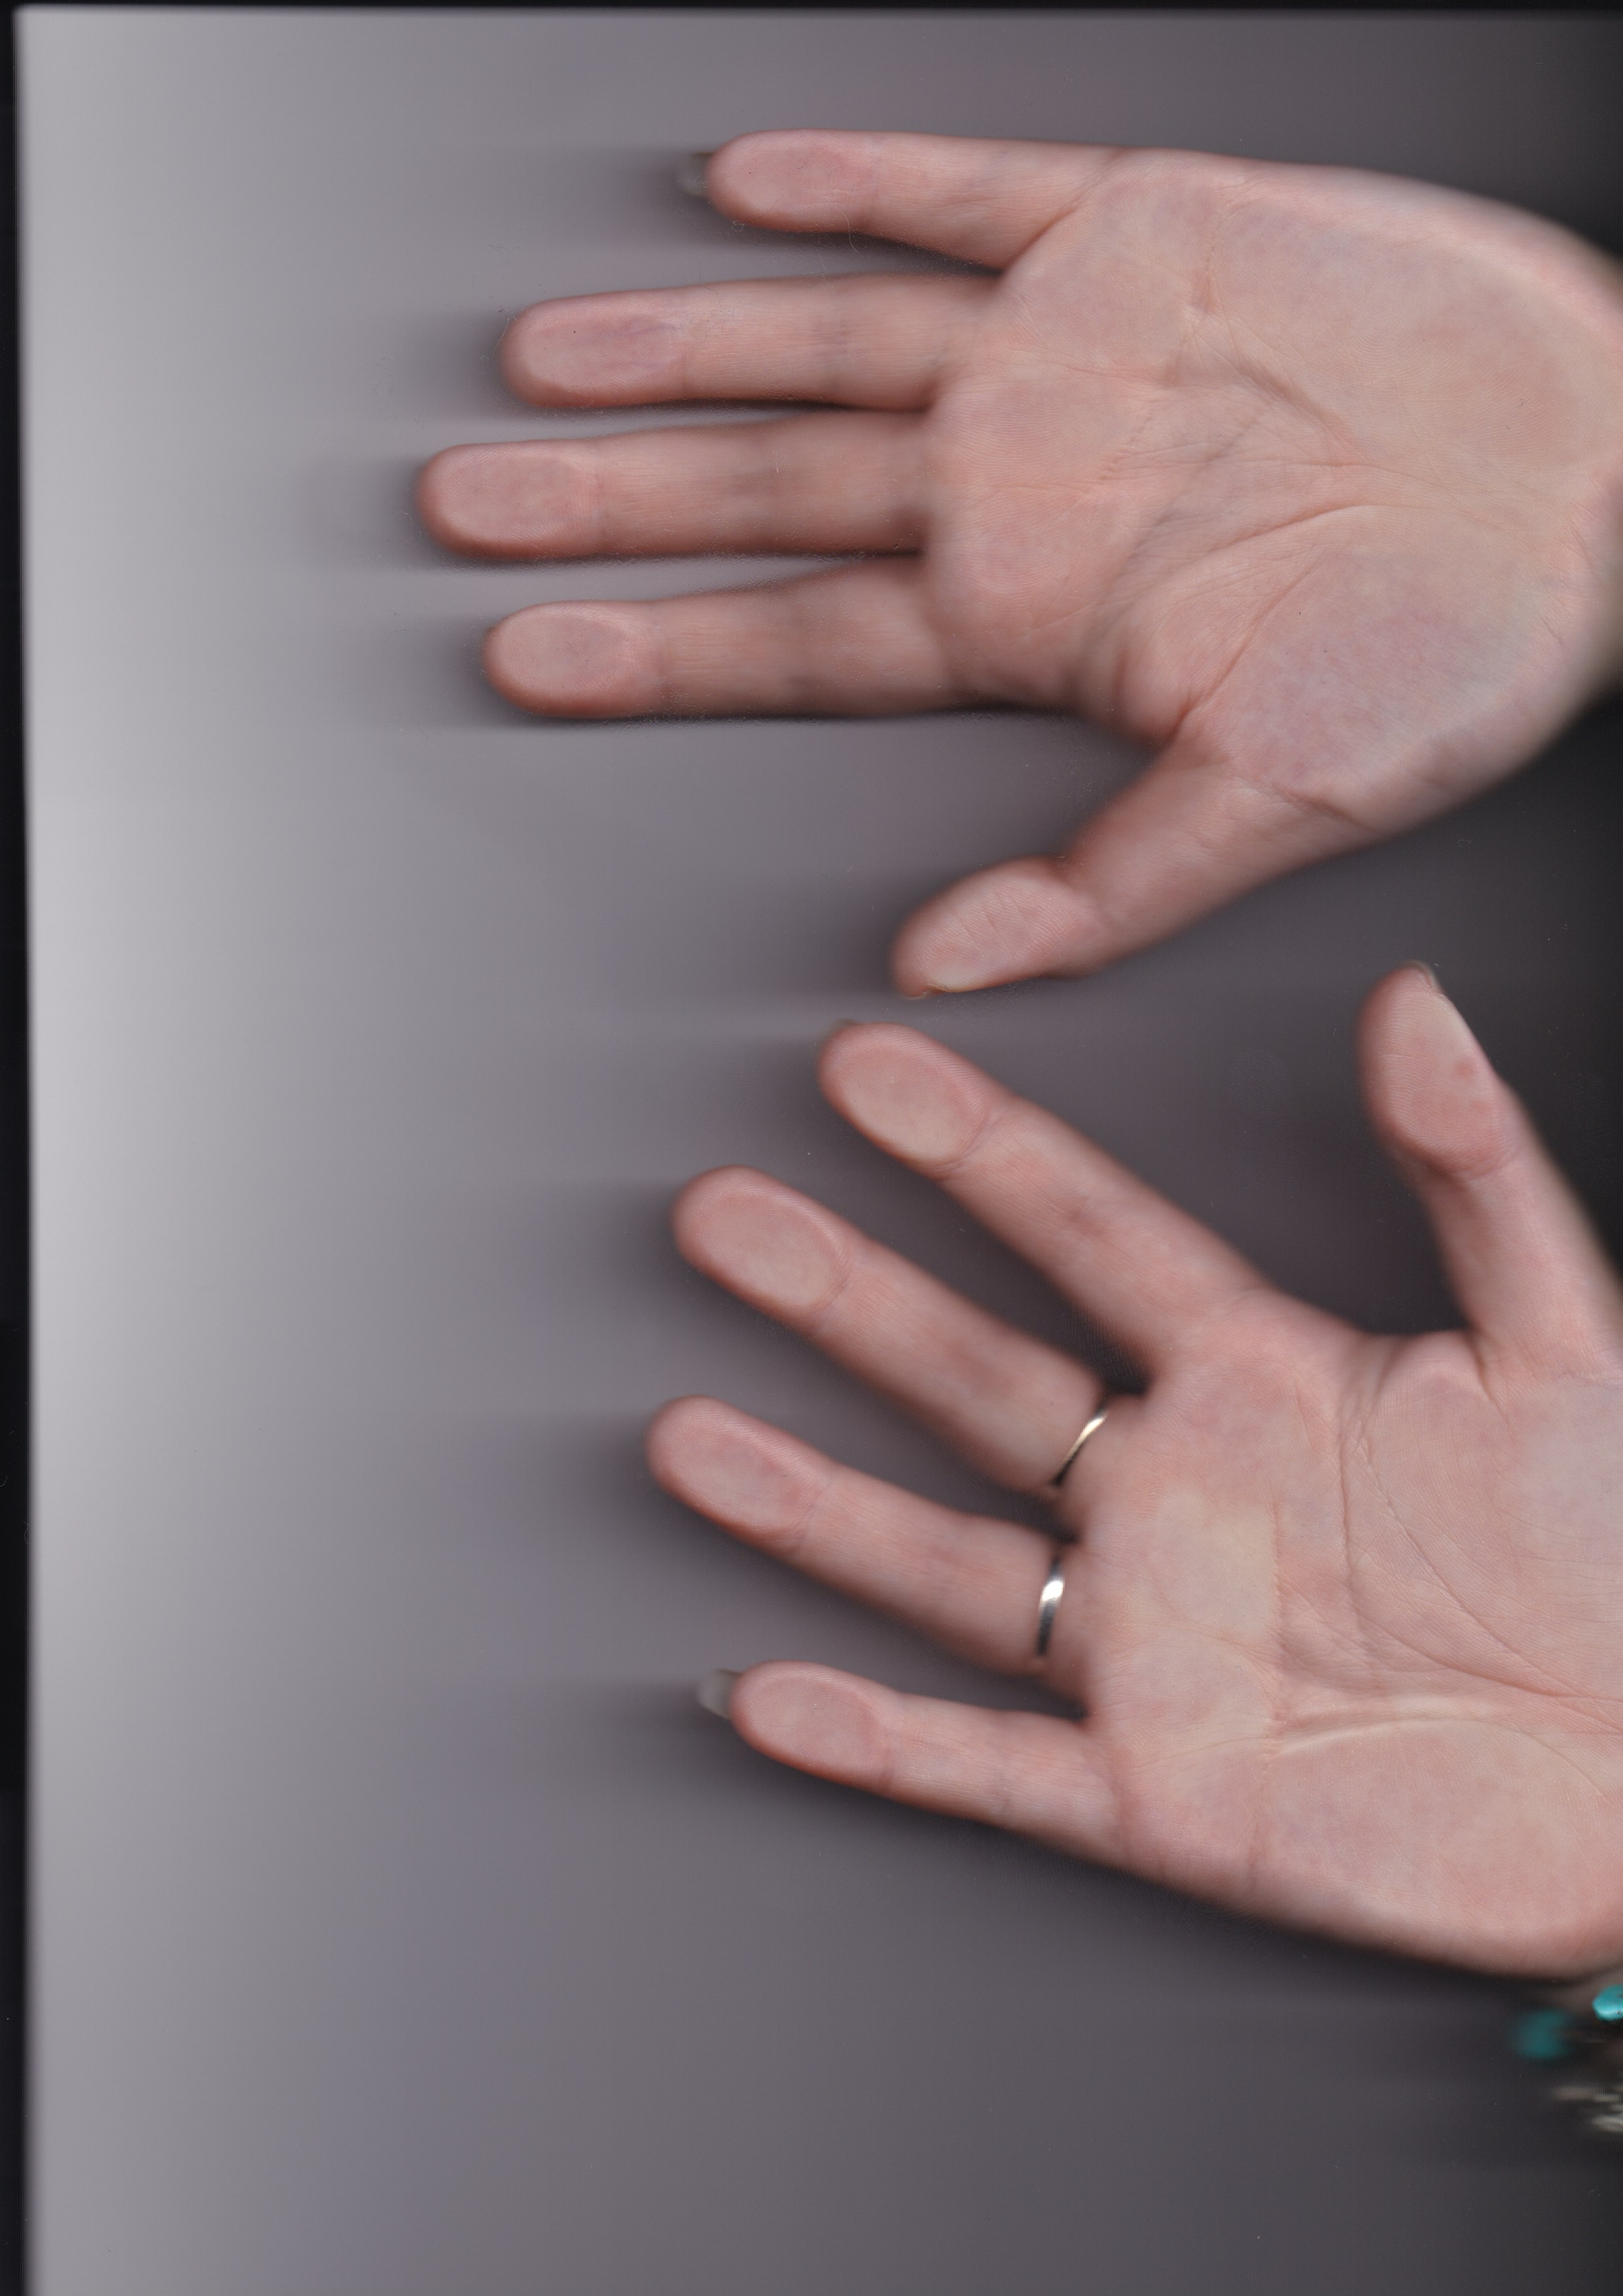
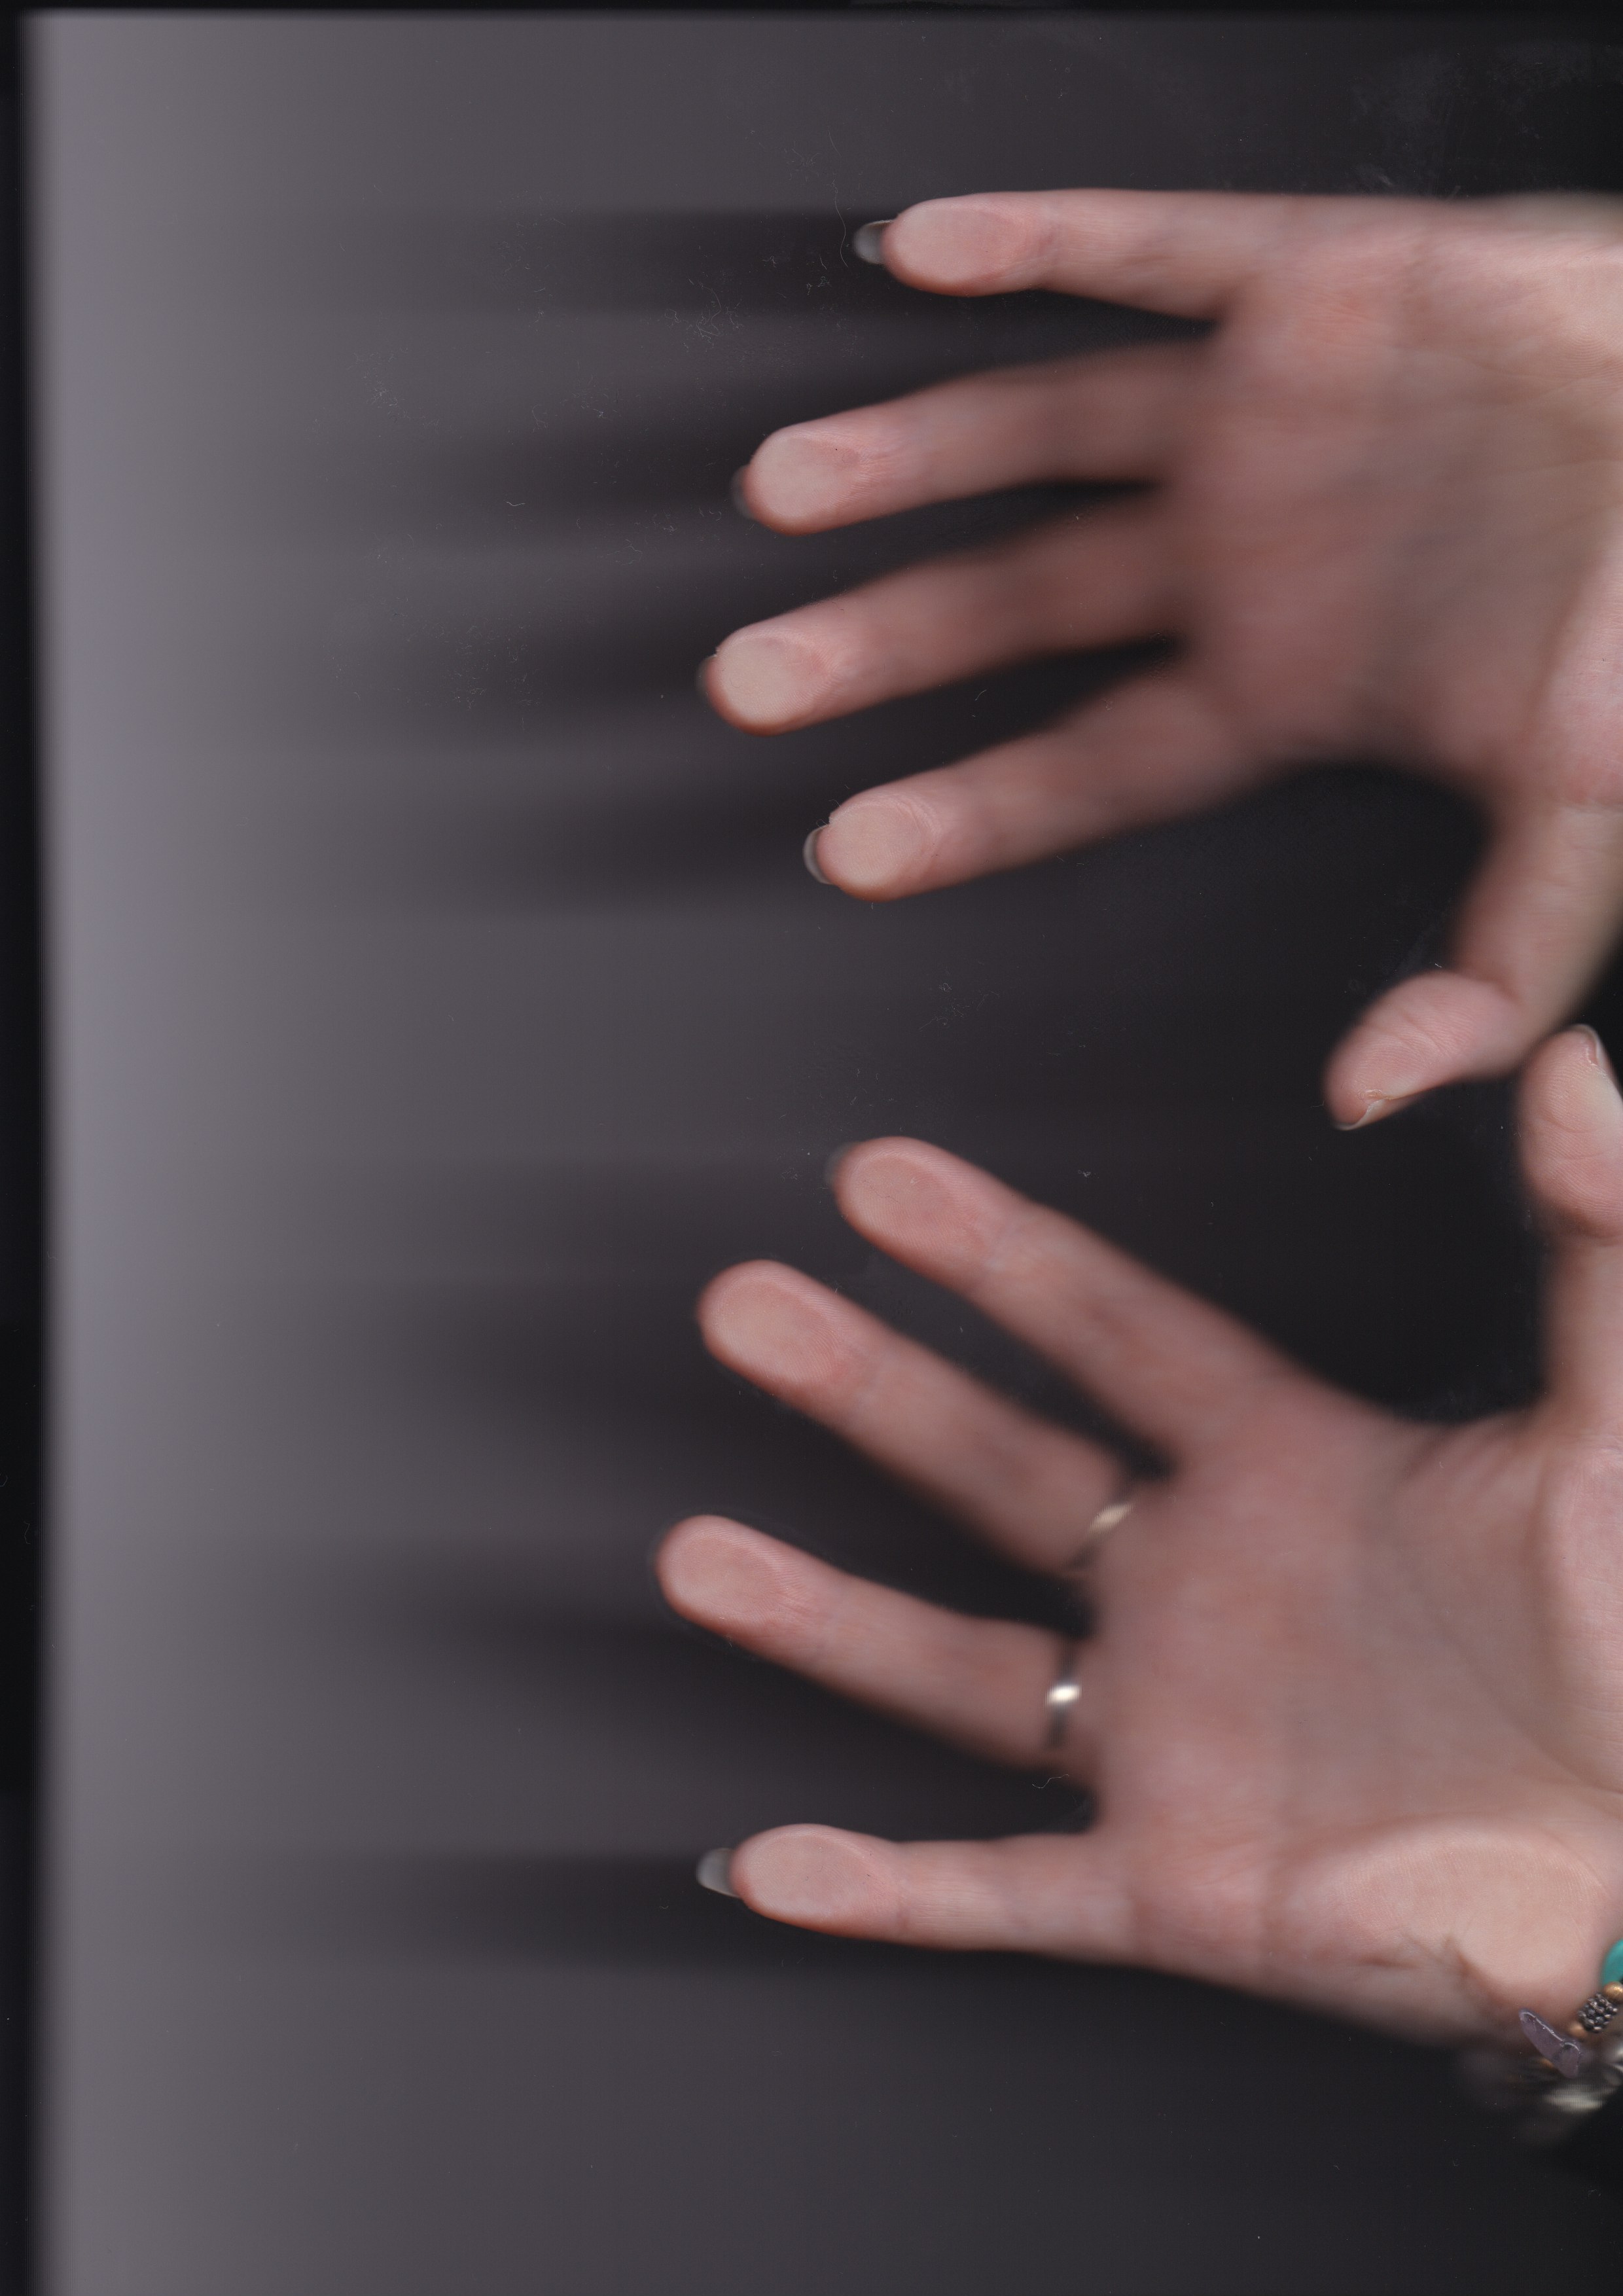
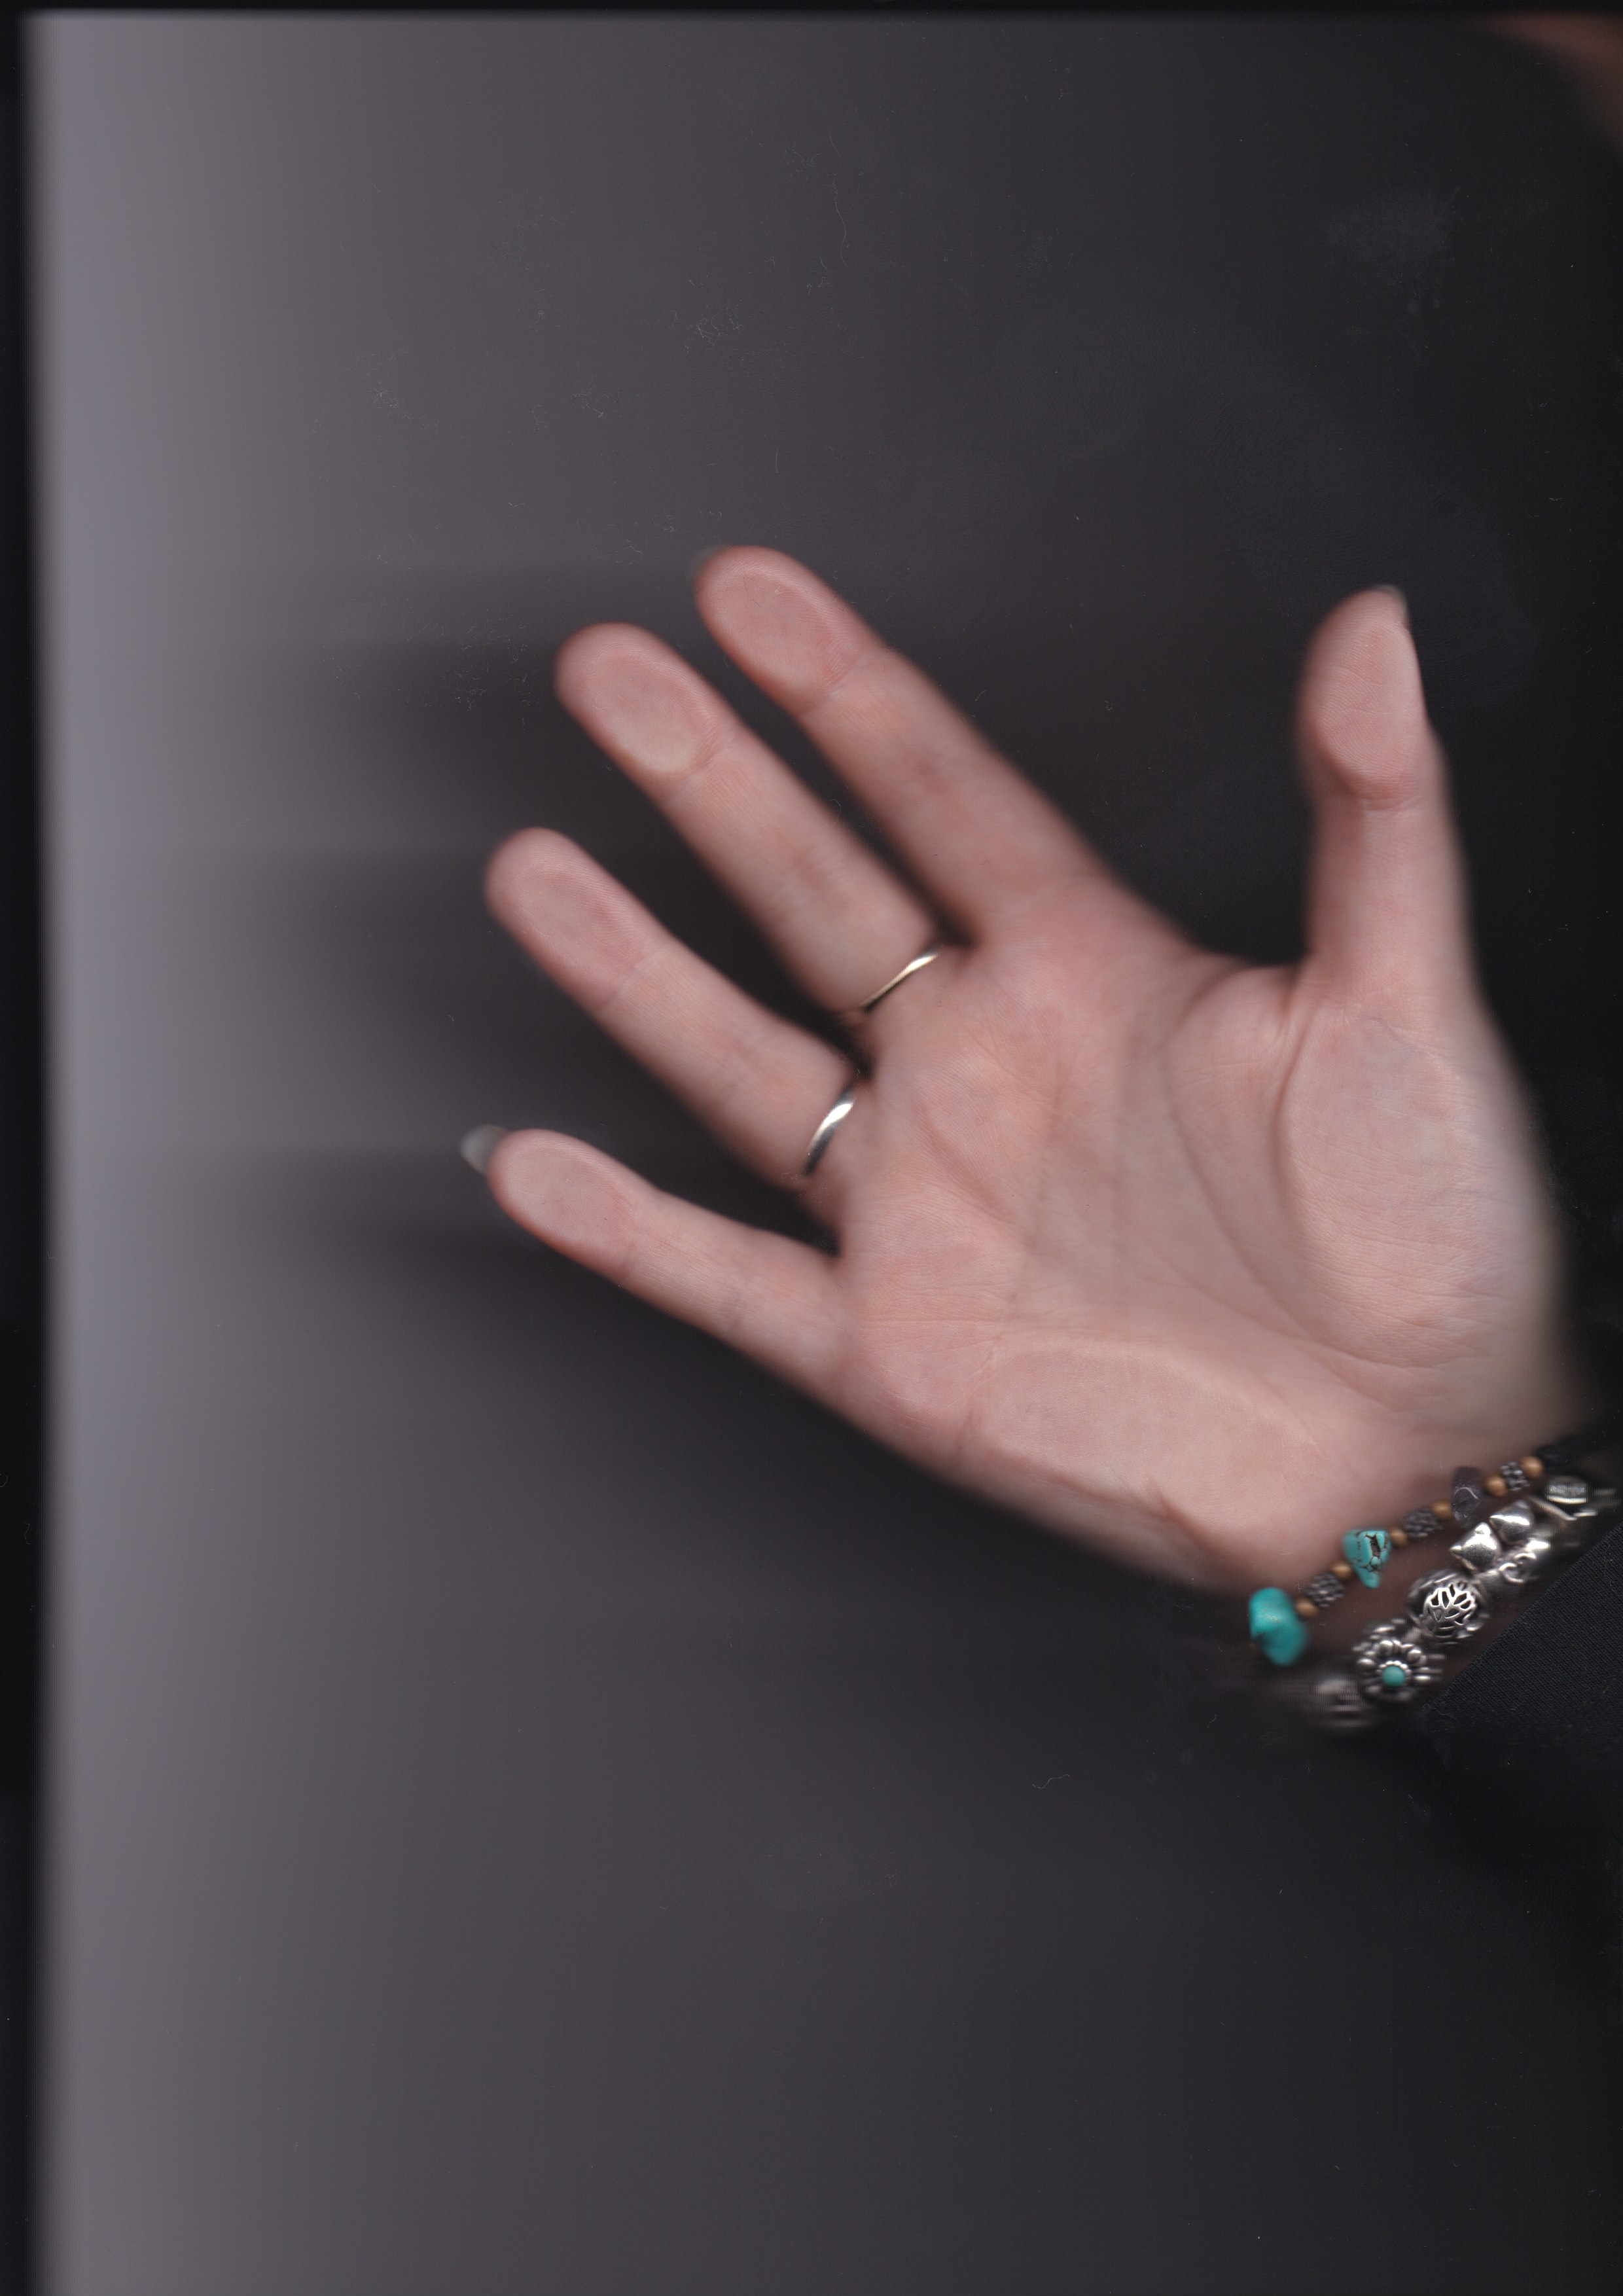
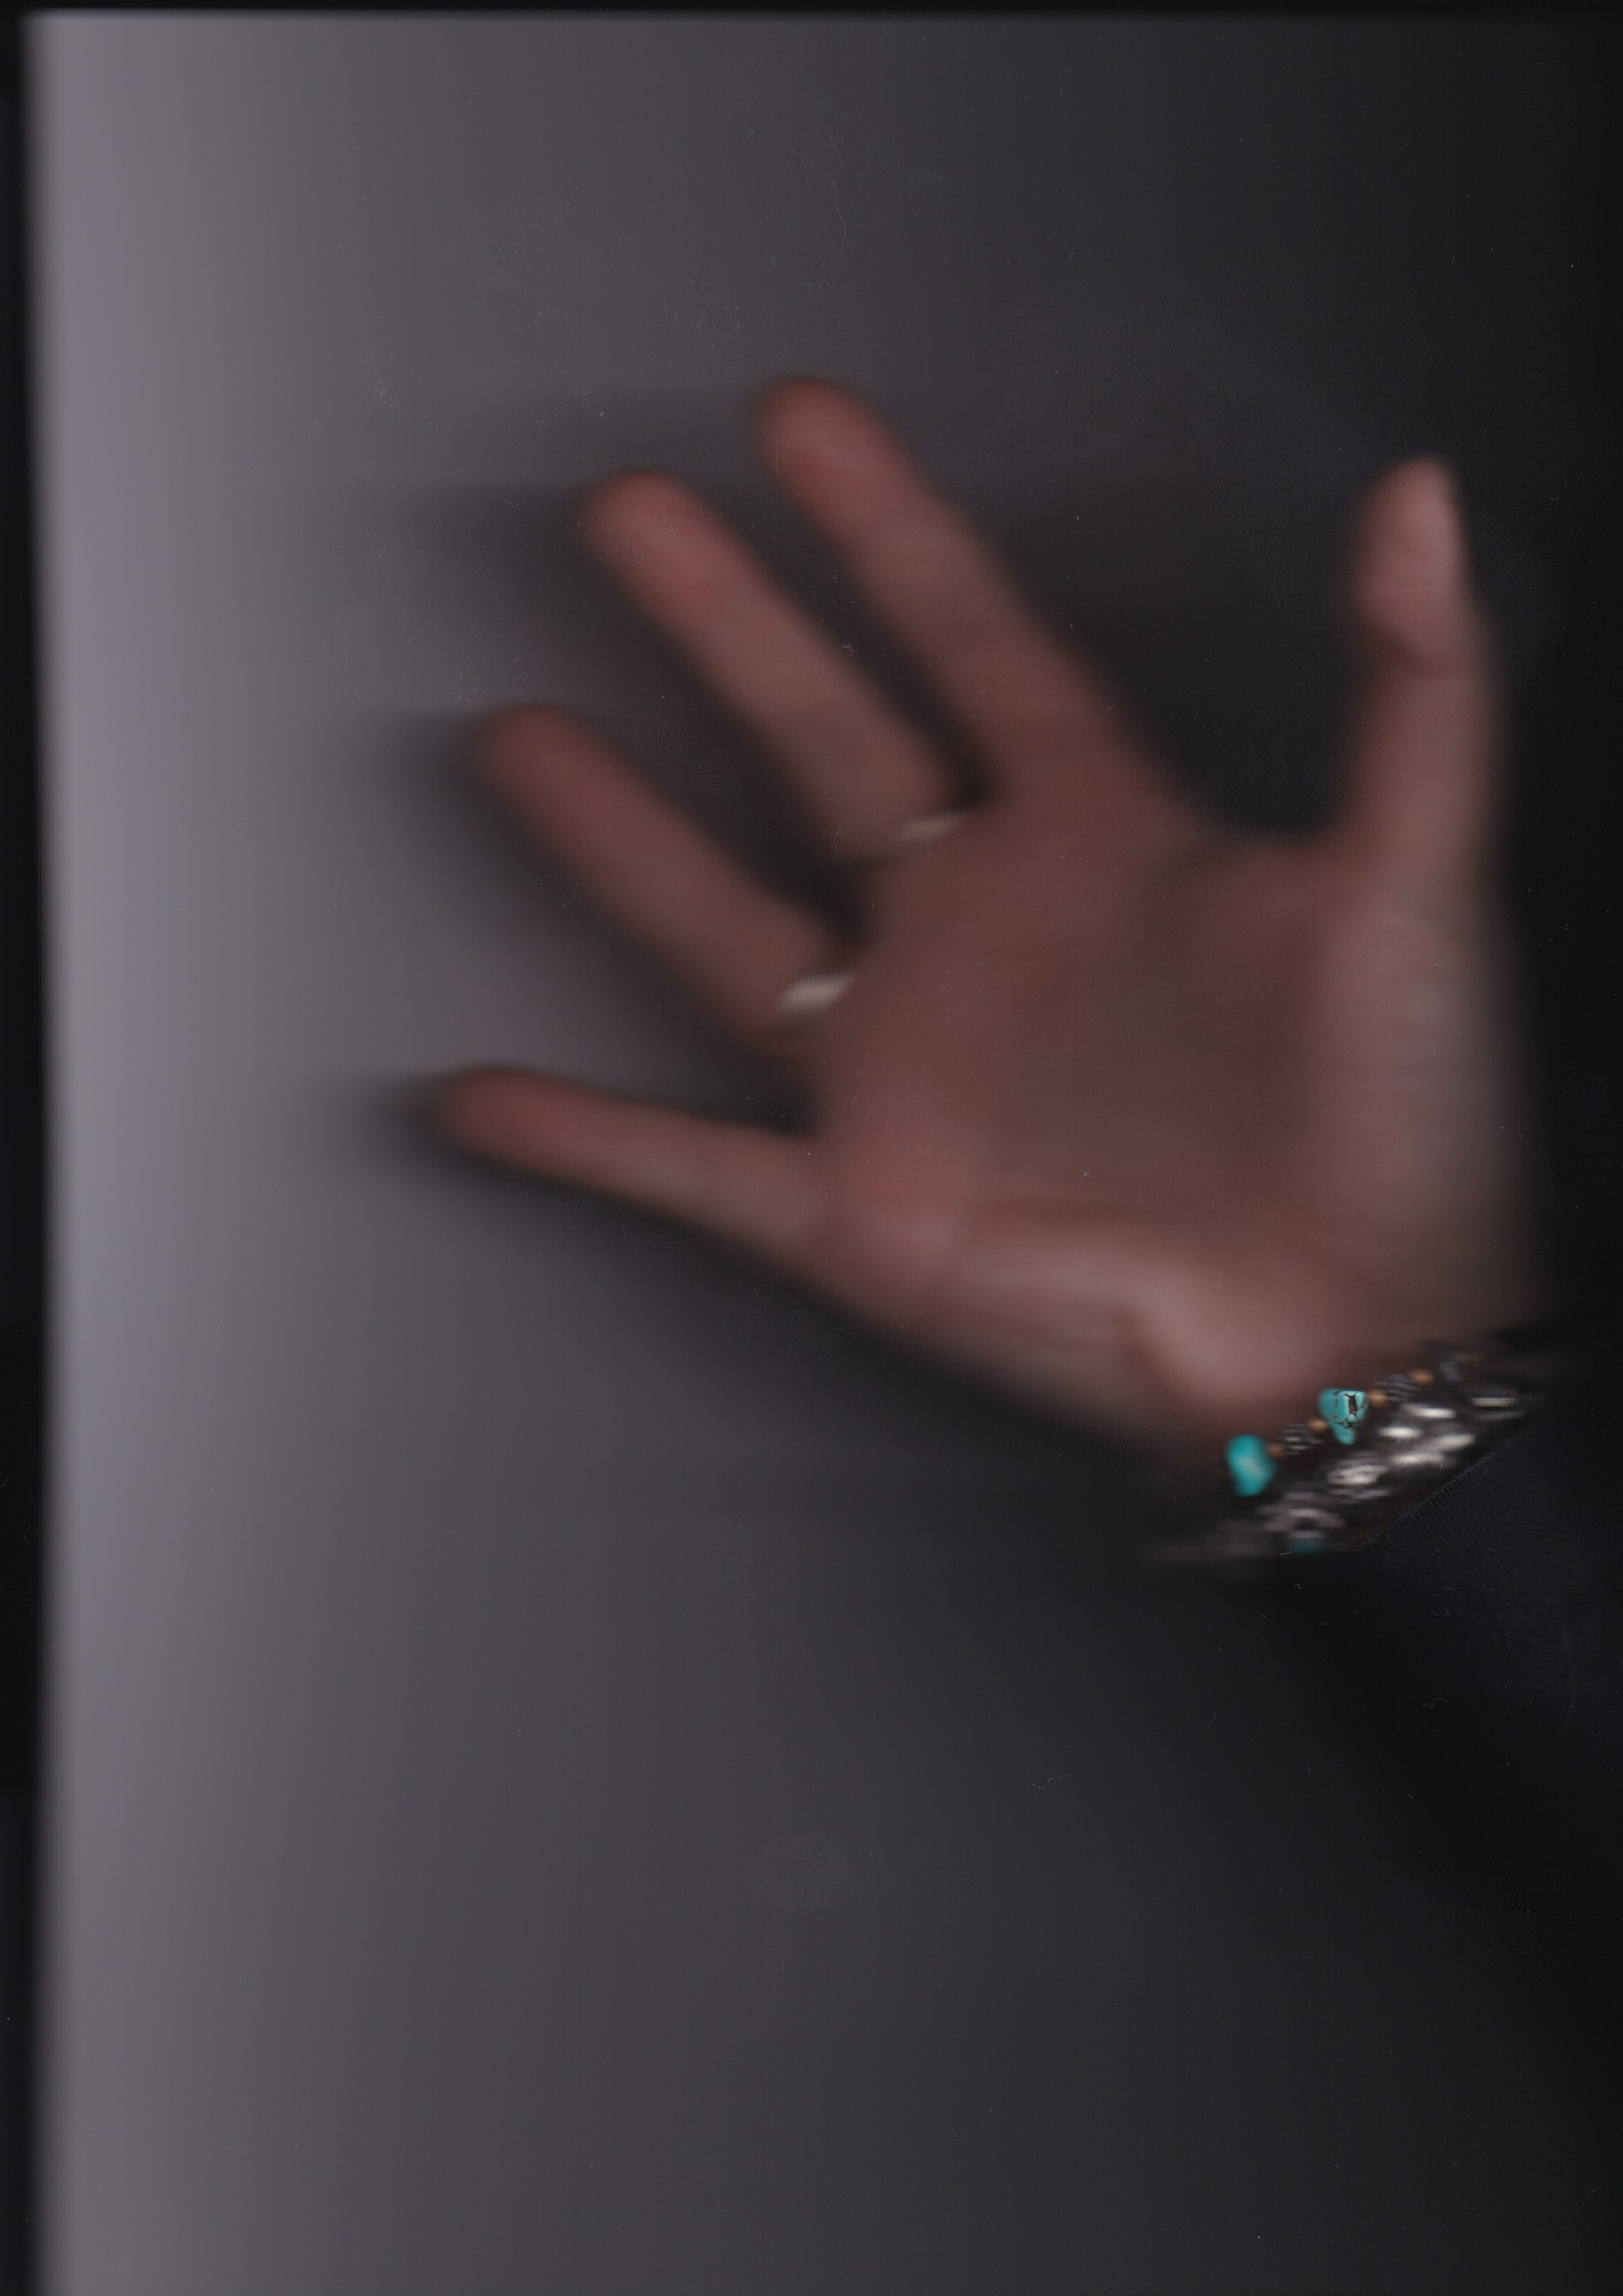
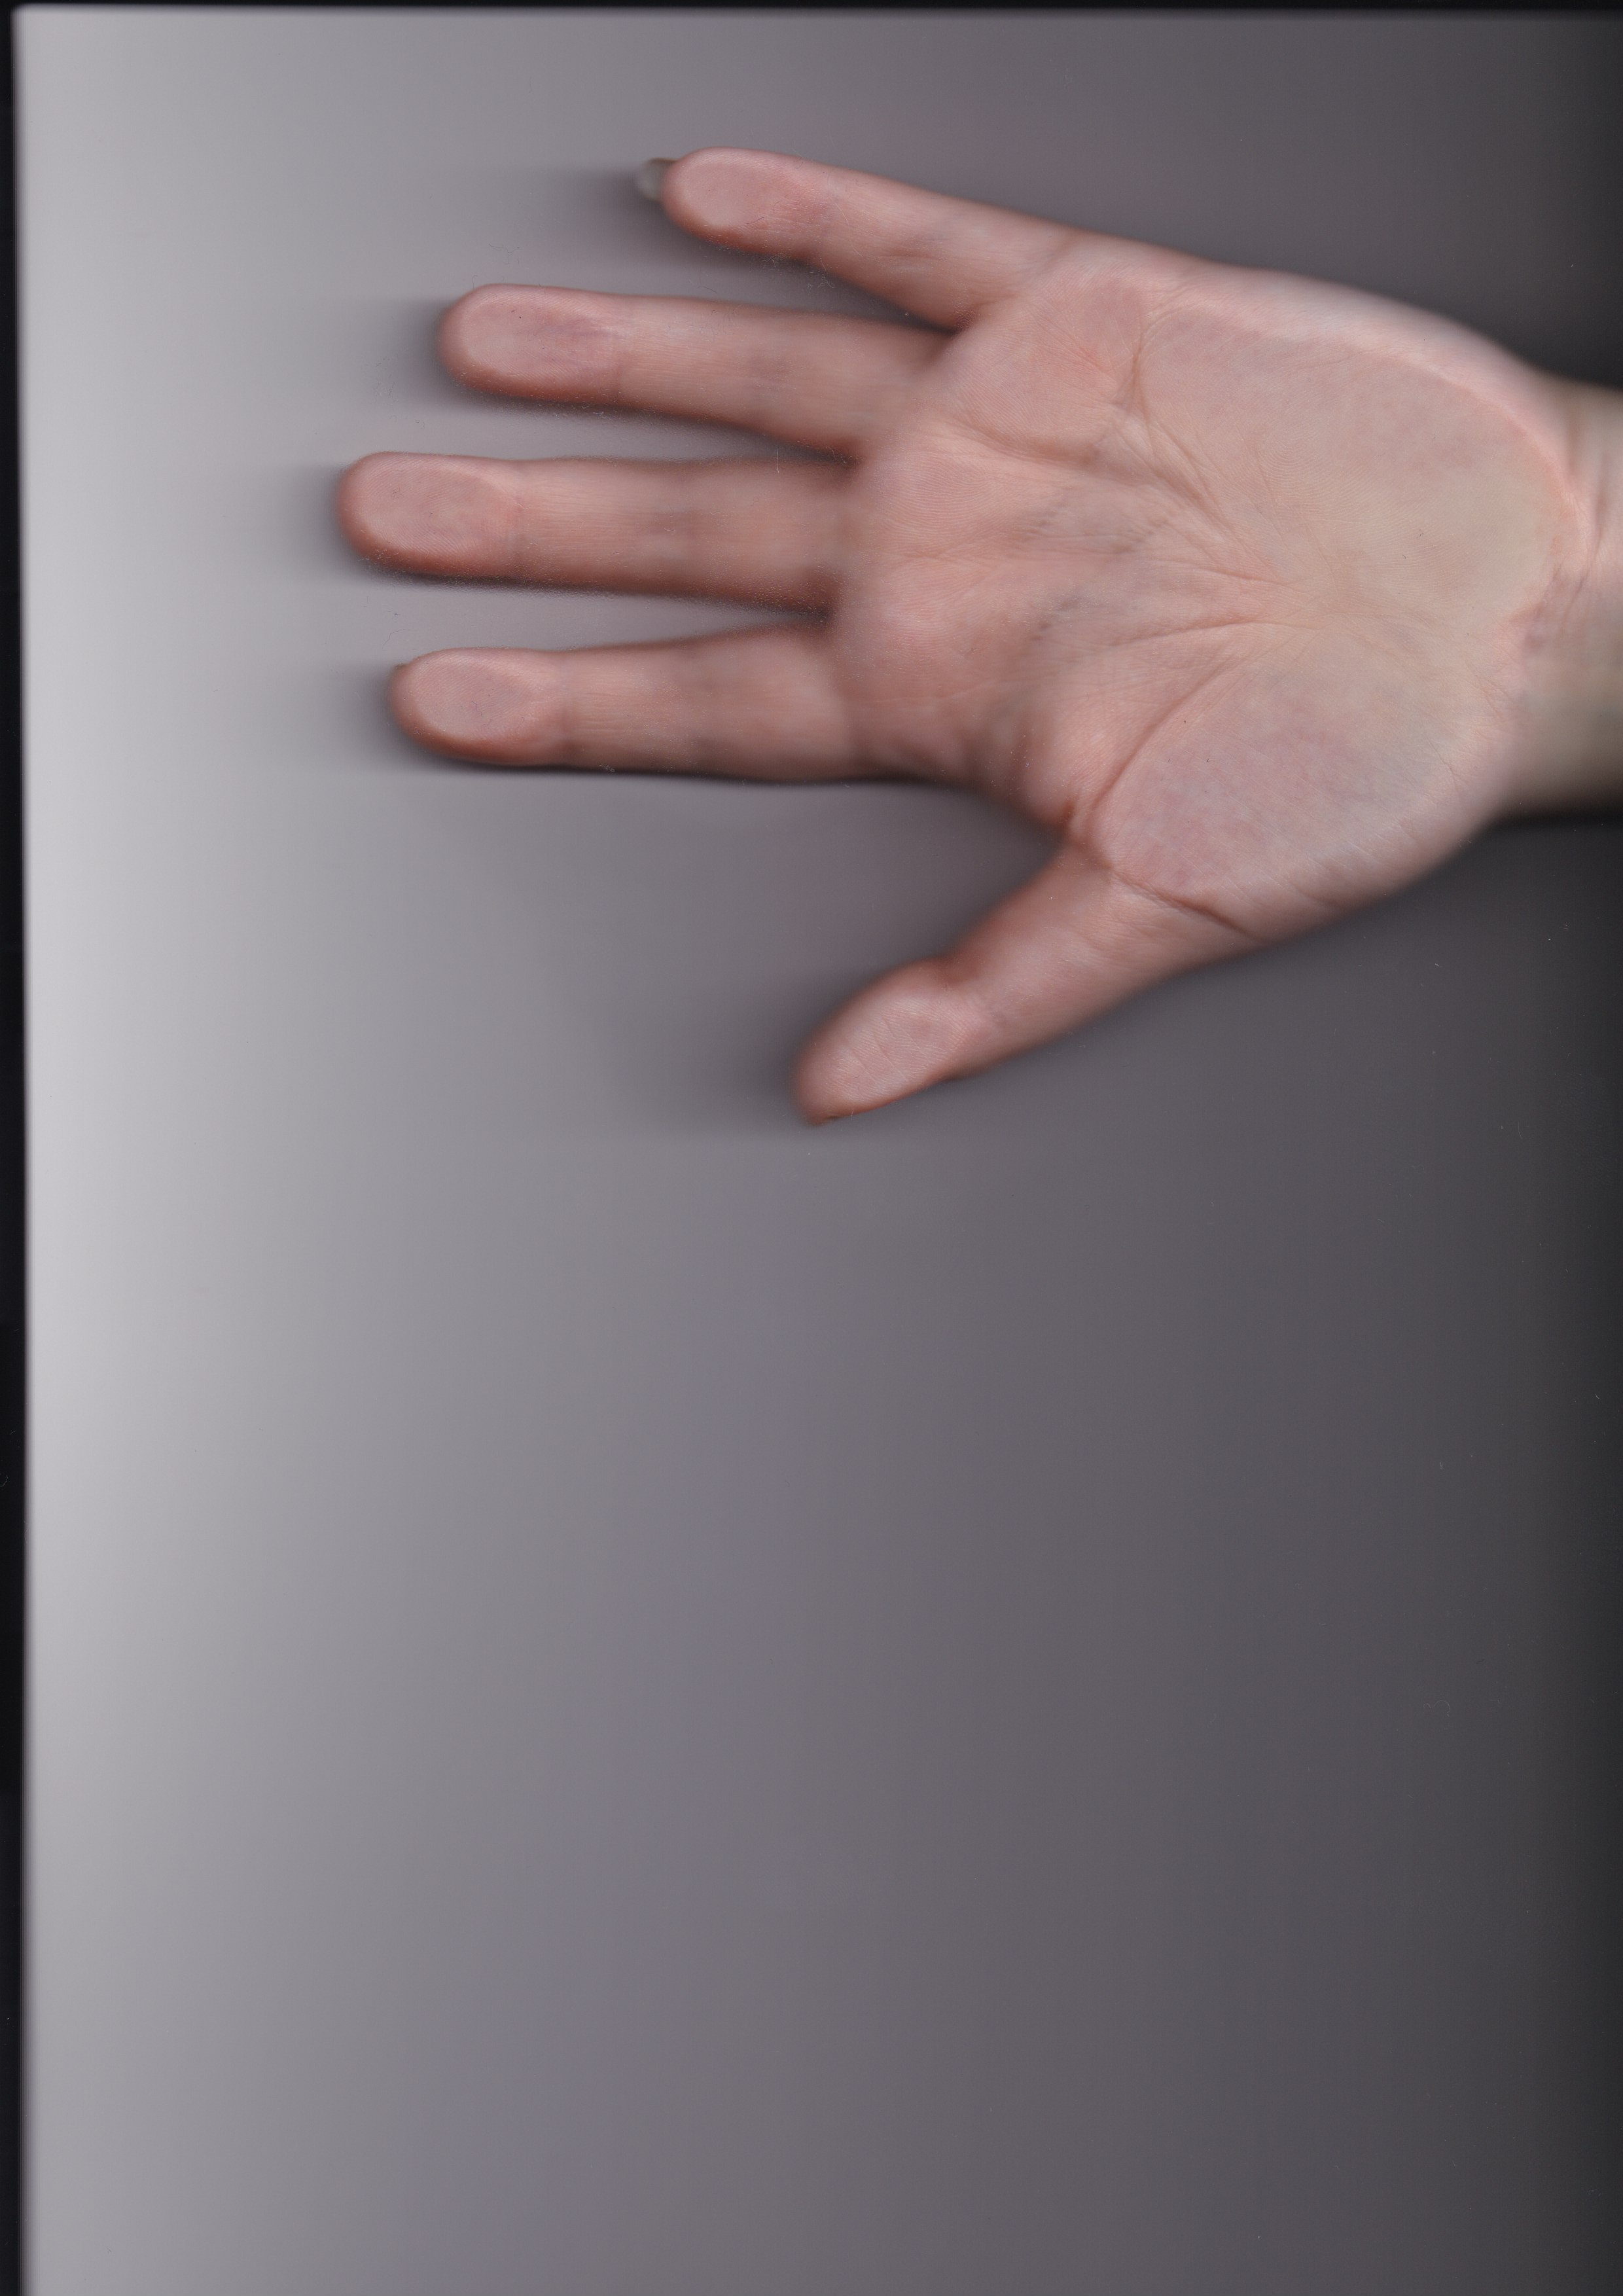
Experiment Four // Scanning Hand/Finger-Print
What was the purpose of this experiment?
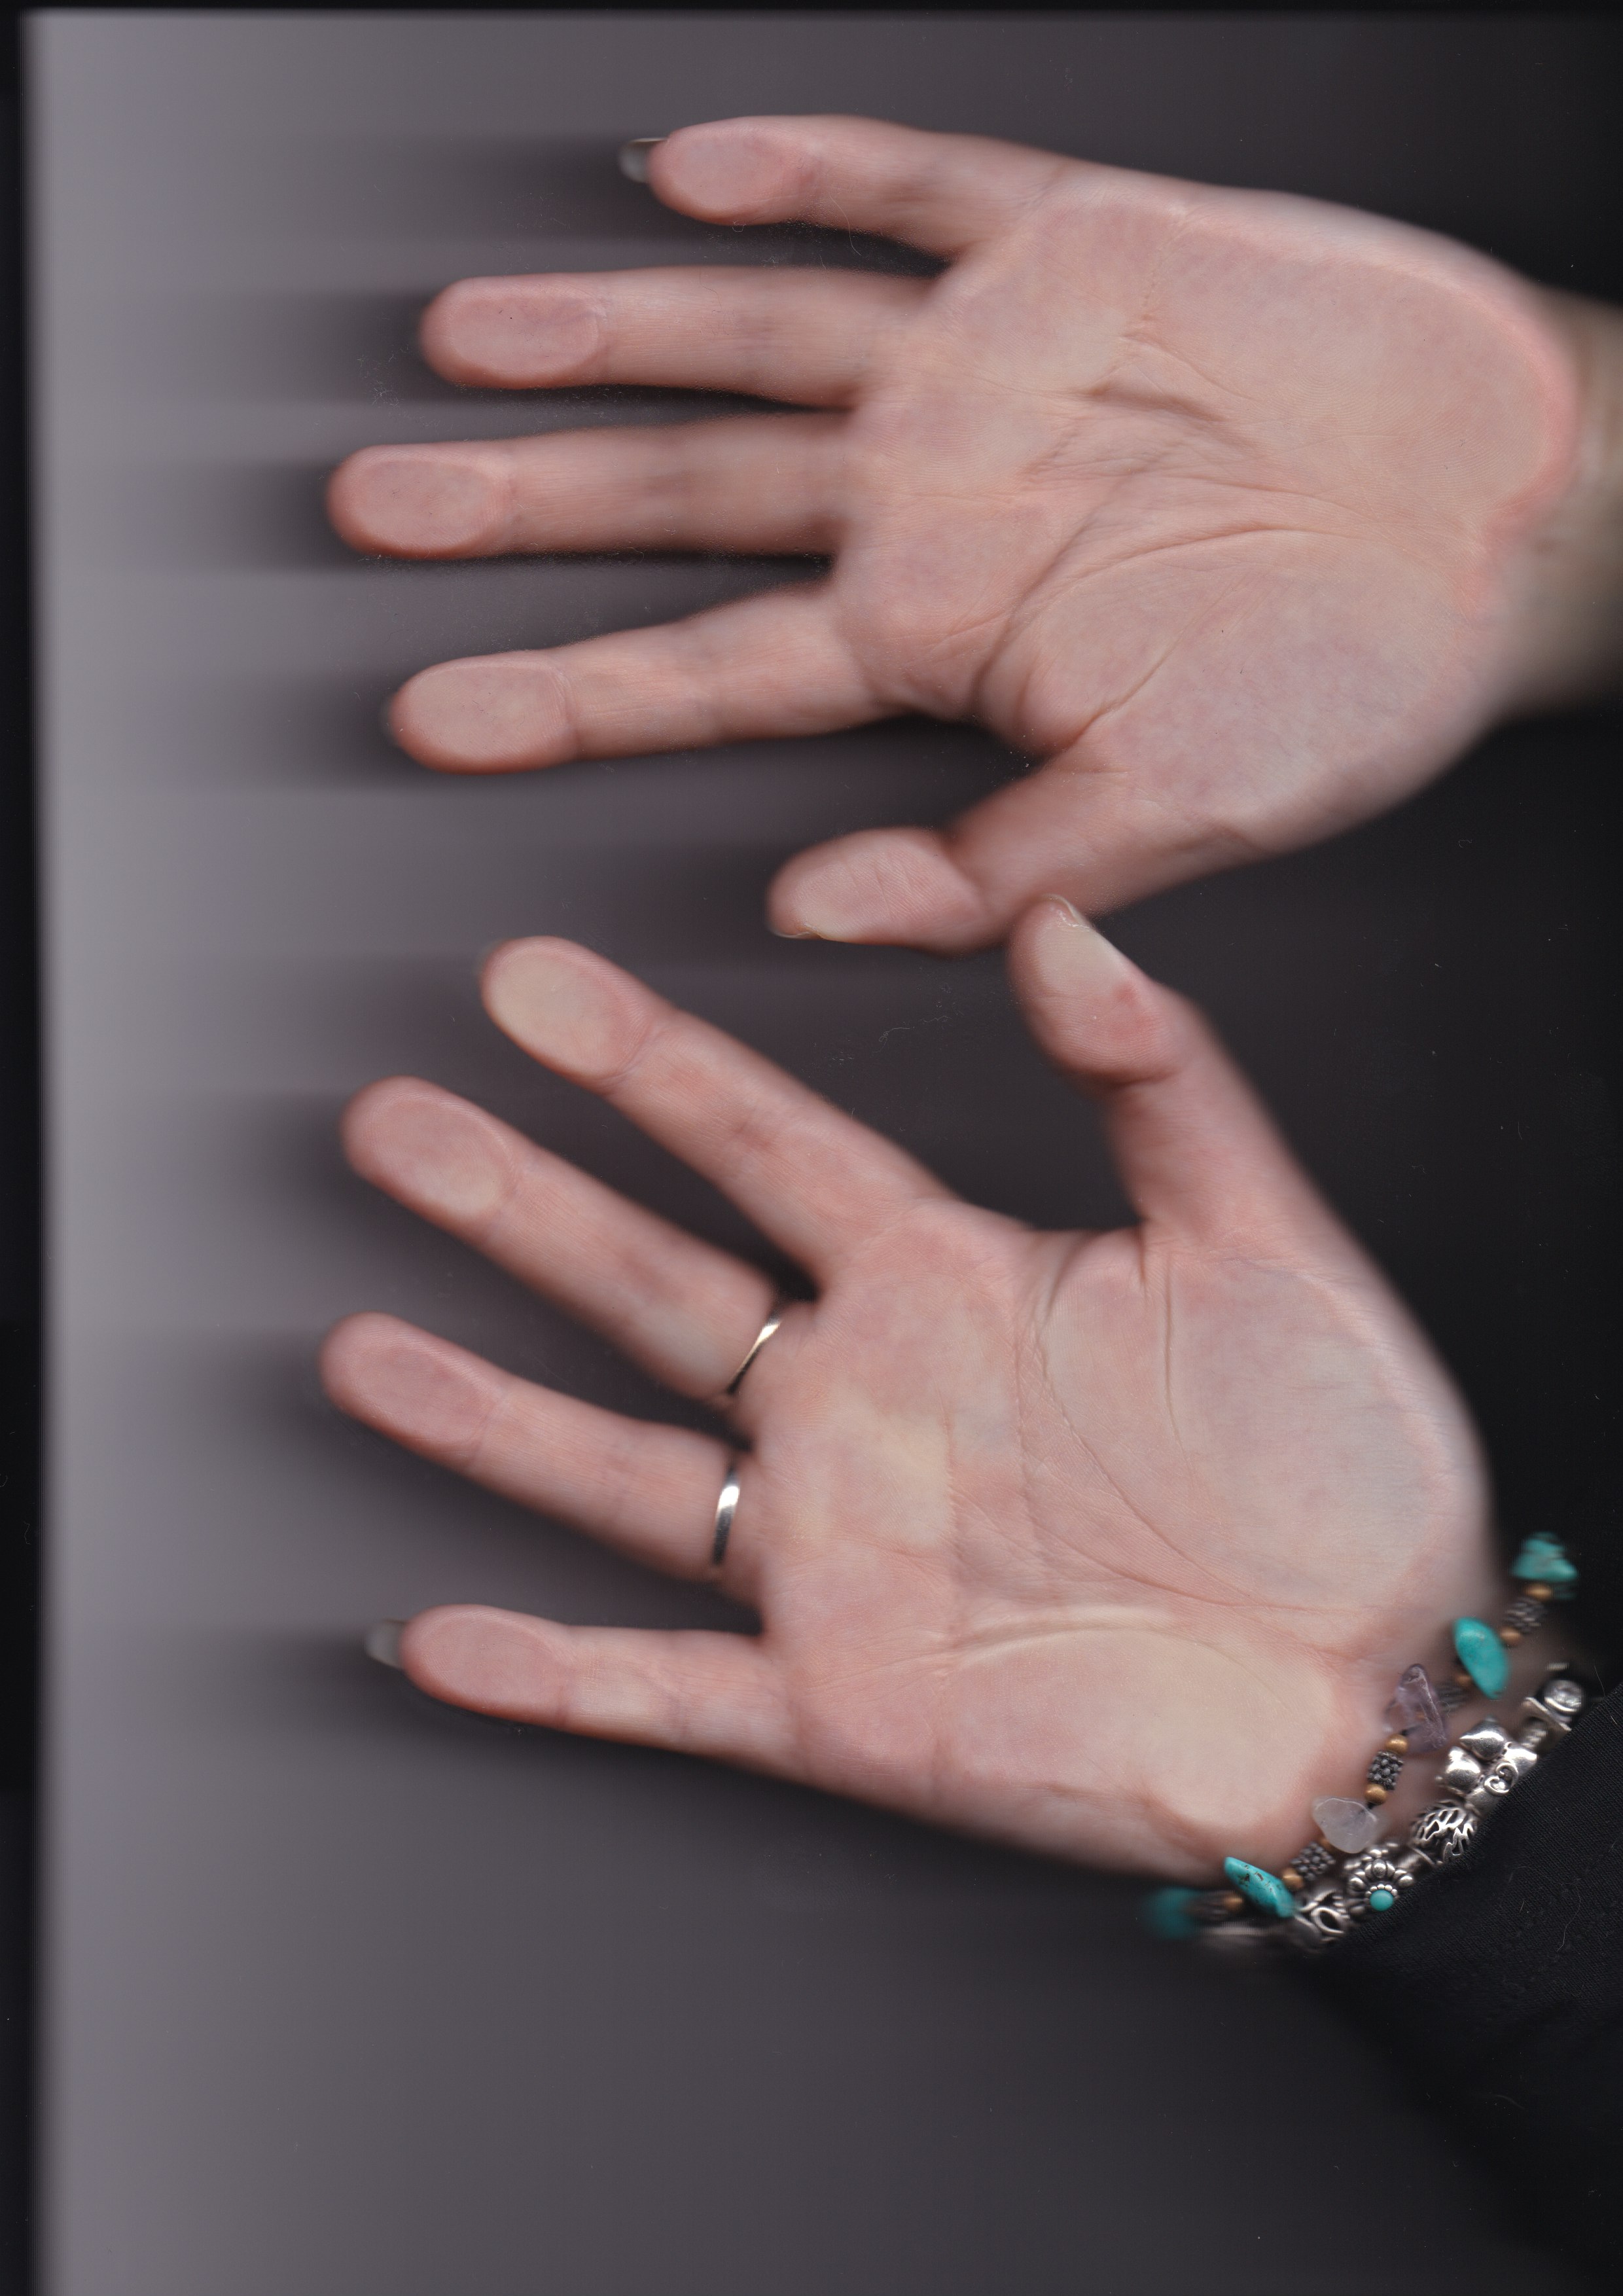
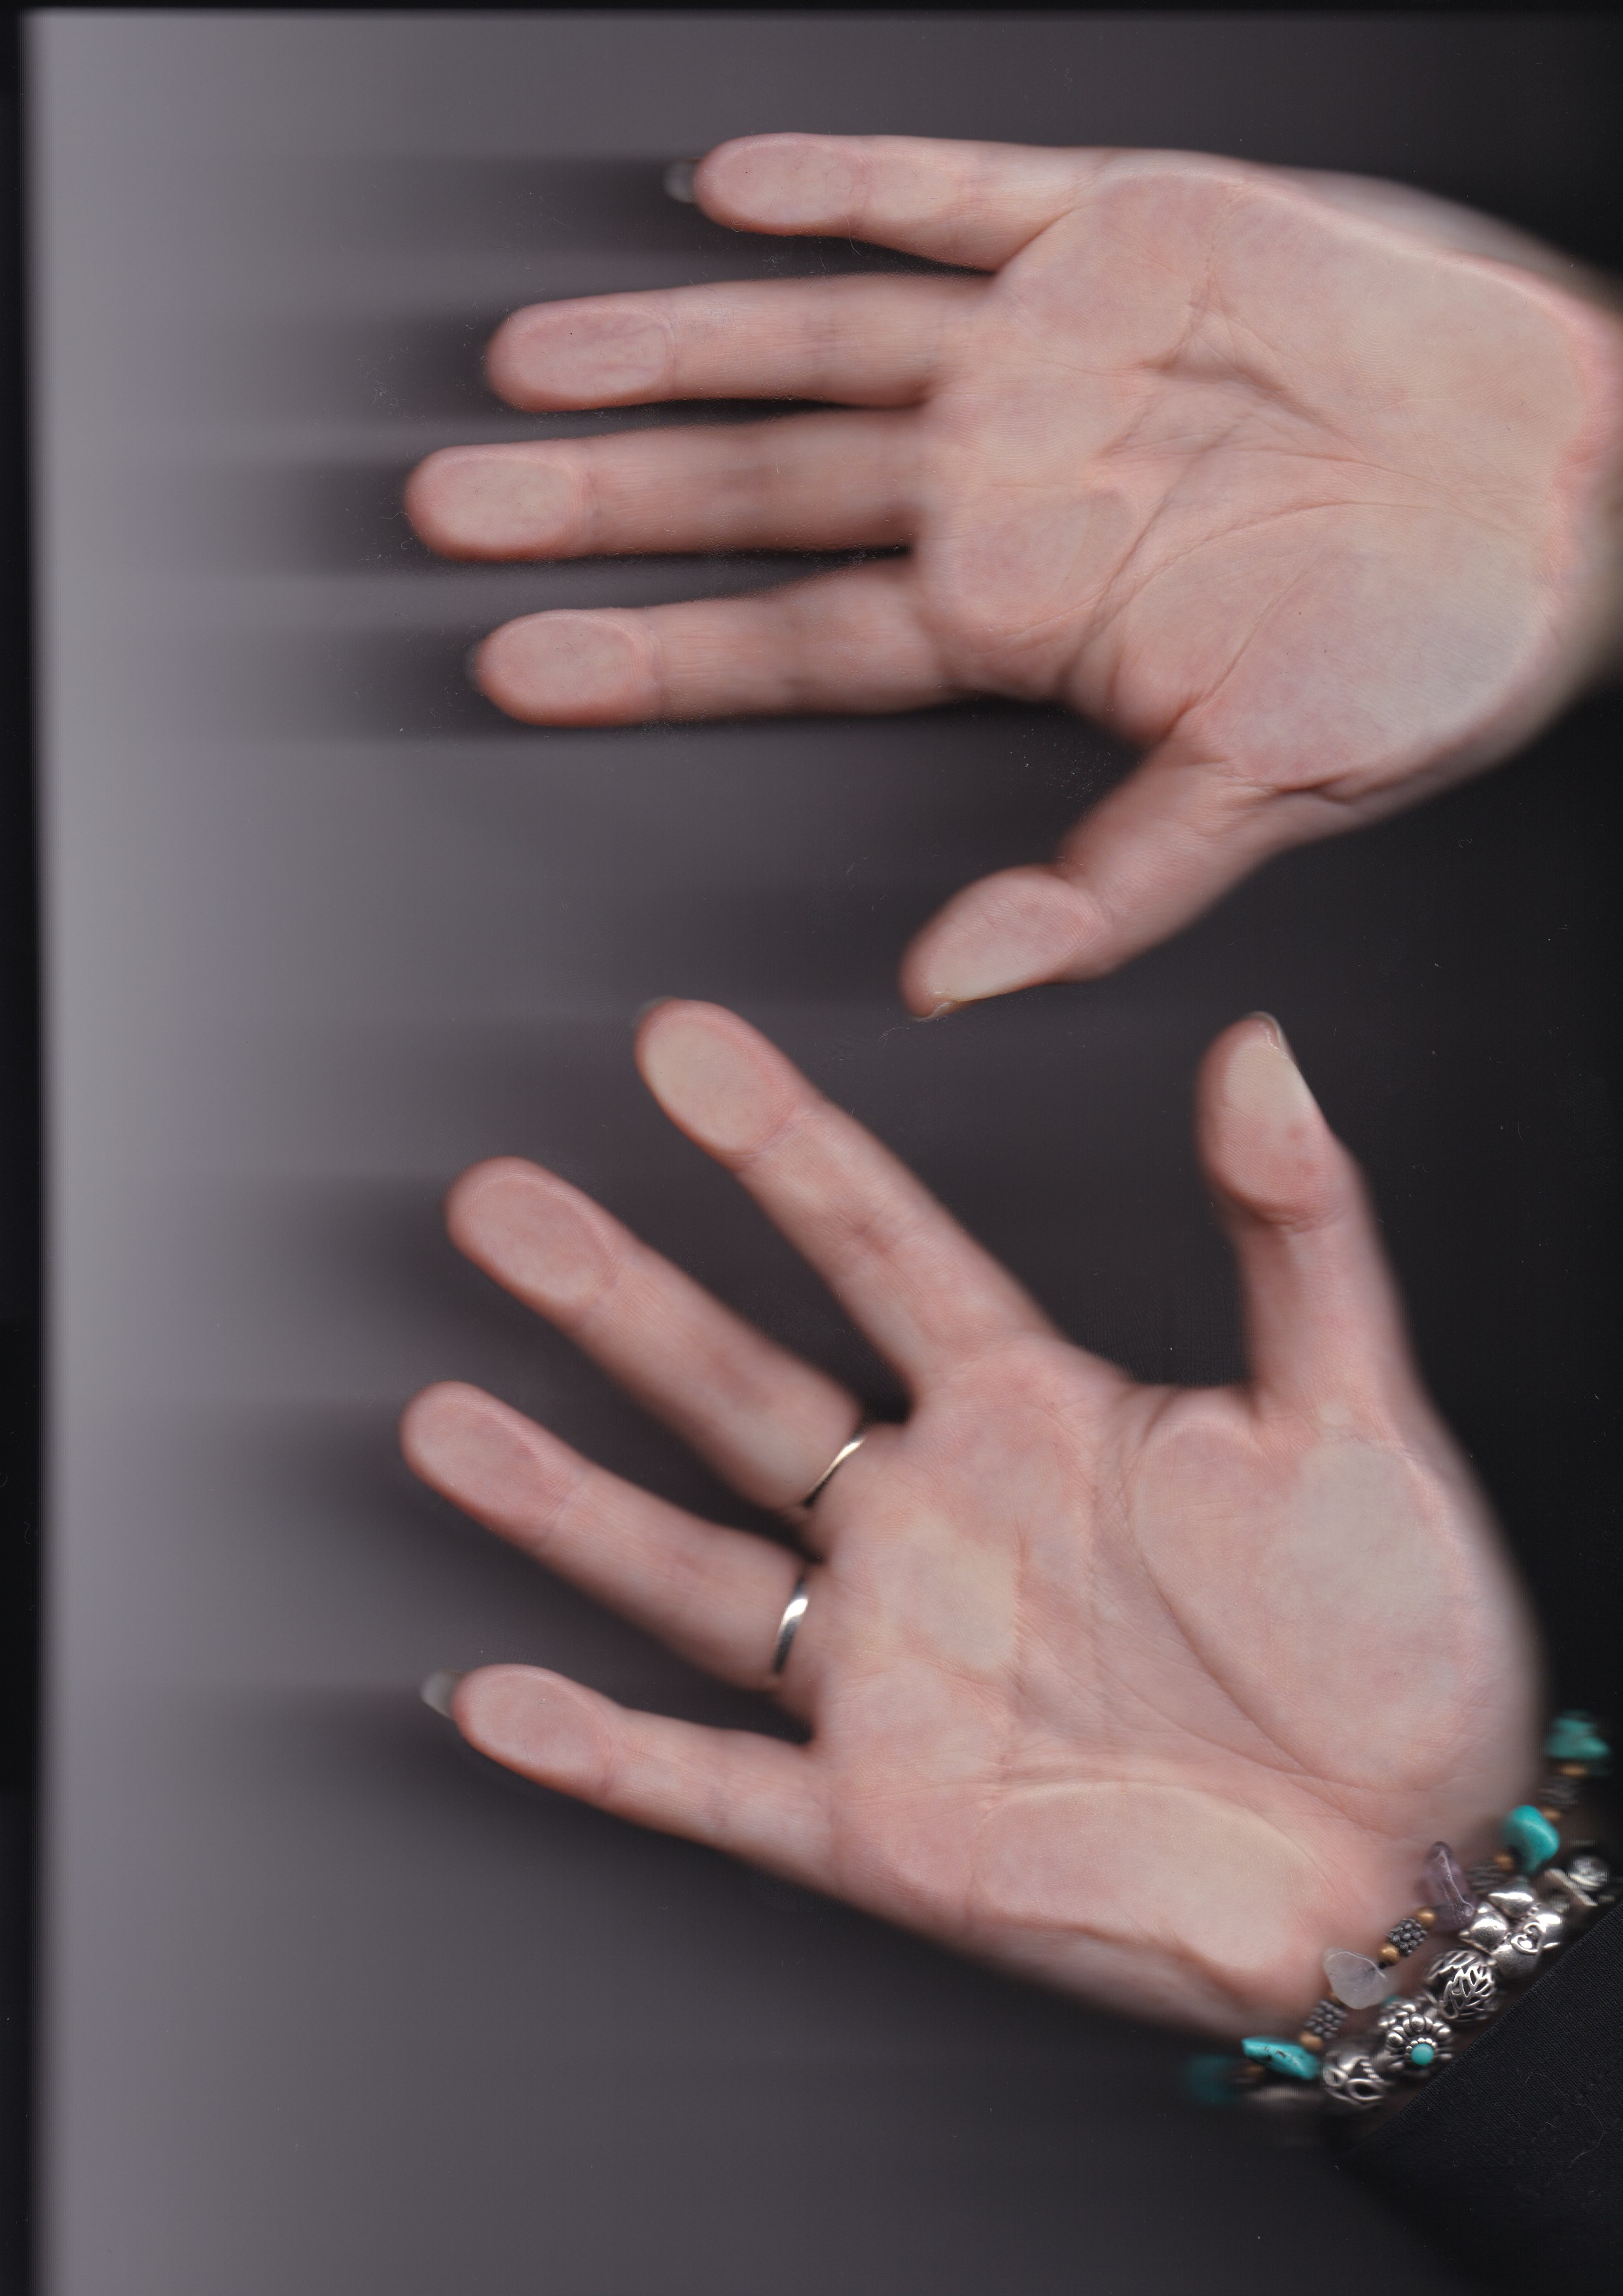
I wanted to try and get a copy of my hand/fingerprint so I could use it to possibly use as digital elements within photographs or even my publication. I wanted to see if I could get a decent image of the fingerprint via scanning instead of using a print (using ink or paint).
Reflection of the experiment
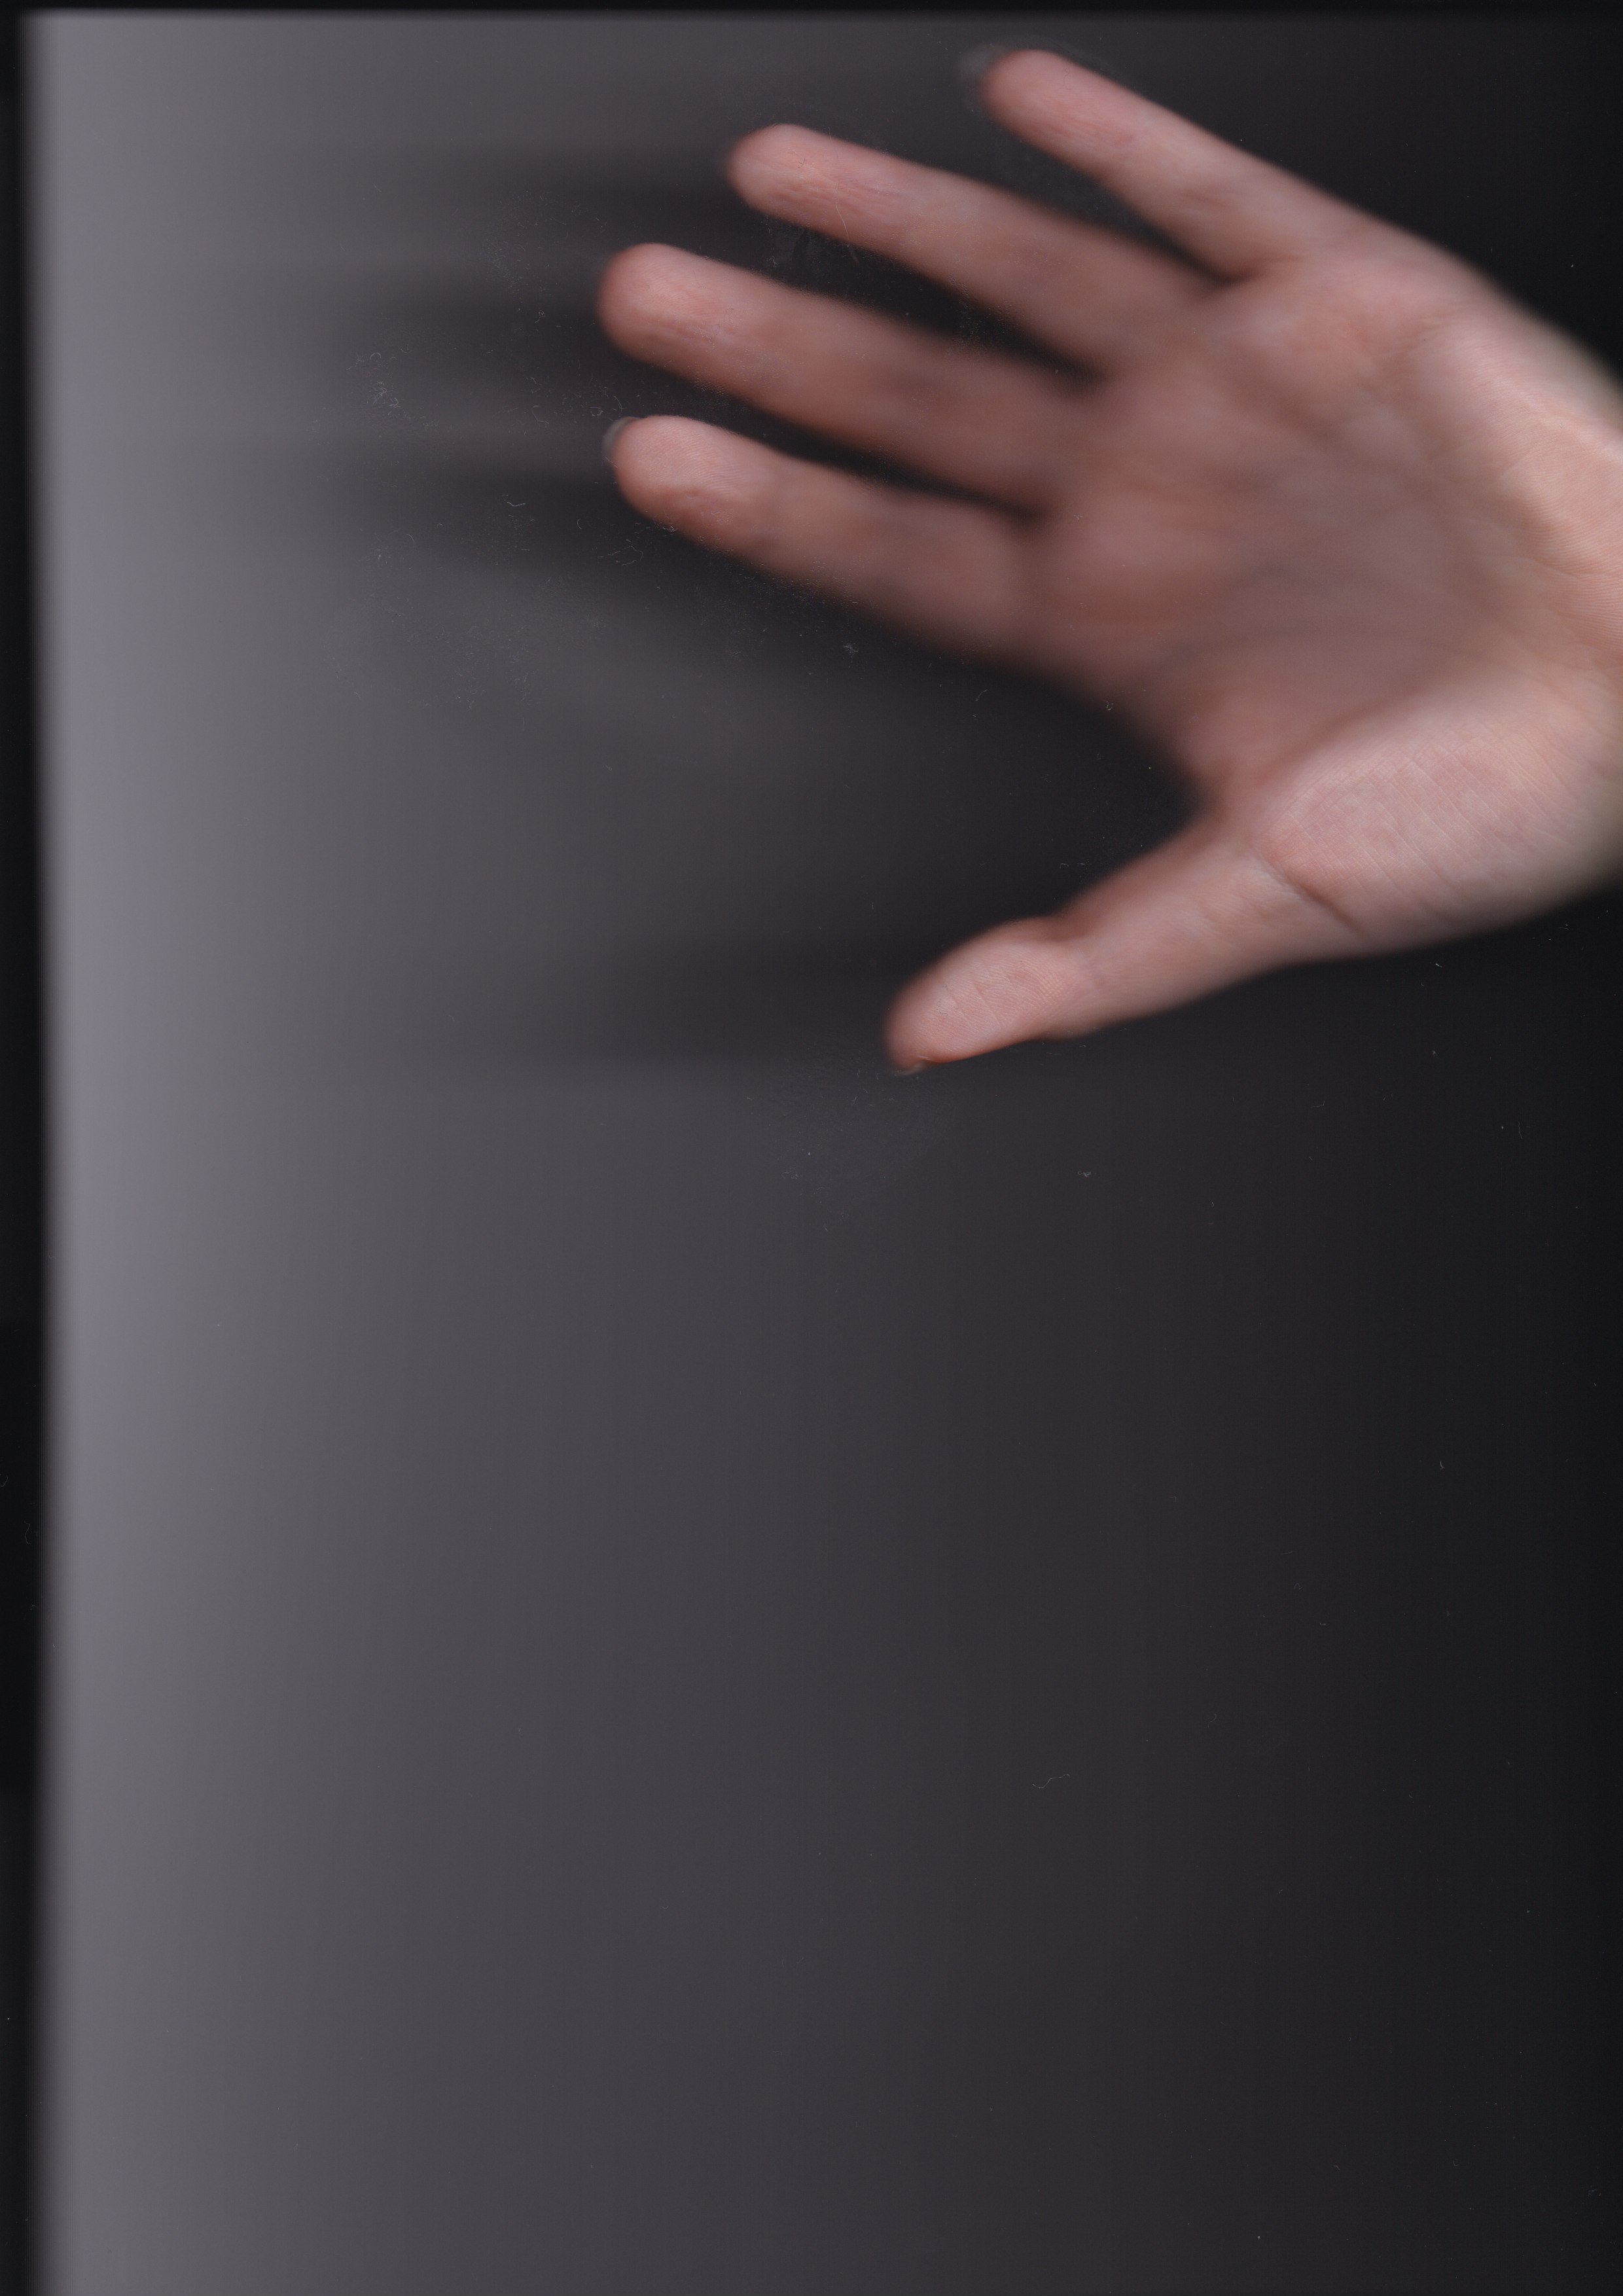
Scanning didn’t really work as to get a clear image, my hand needed to be pressed against the glass, but because my finger was pressed to the glass, I lost the lines and texture of the fingerprint. Though I got parts of some fingerprints, I think it will be better if I keep to getting a print via using paint or ink to get the clearest result. I did experiment in class with drawing on my finger and pressing it into the page, which it did work, but I want to try and get a clearer print by using different inks / paints. I think this will be another experiment to see which one will work the best and will enable me to get the best results.


Experiment Three // Eye + Lens Ball
What was the purpose of this experiment?
With this experiment I started off just photographing my eye and focusing on getting interesting lighting and angles of the eye. Though these were good, and I liked the outcomes, I also wanted to get closer. I didn’t have a macro lens, so I ended up improvising with what I had. I had bought a Lens Ball for a previous project and decided to see if using that would magnify and get closer to the eye. This created an interesting effect because the photos weren’t 100% in focus, and it didn’t have crisp edges, and gave an abstract-esque feel to the imagery. What was the purpose of this experiment?
Reflection of the experiment
The first part of this experiment worked out quite well, the images of just my eyes were how I expected them to be, though I did wish I could have gotten a bit closer with them as I wanted to try and get the colour and the pattern in the Iris of the eye with a bit more detail. I really want to try and explore the patterns within the Iris and possibly for another experiment, create digital versions and lines on-top of the patterns and use those for various design elements. I also experimented with different crops of the image to make a more interesting photograph with what I had. This helped with atypical types of photographs of an eye – i.e. only showing one / using a more panoramic crop showing just both eyes instead of whole face / side of the face.
With the Lens ball, because of the time of day that I shot these images, and being inside, I had to put the ISO up quite high. For the next time I try to take photographs like this, I will be trying to use better lighting so I can use a lower ISO. I found that these images were really interesting and got a lot of positive feedback from various people. These images I found had a creepy yet intriguing vibe to them, which I wasn’t sure on at first, but I find that it makes the viewer wonder more about what it is, or how it was created, which I like. I want to try again with making more images like this potentially but need to figure out better techniques on how to create a sharper image along with what messages I want to say with them. The first part of this experiment worked out quite well, the images of just my eyes were how I expected them to be, though I did wish I could have gotten a bit closer with them as I wanted to try and get the colour and the pattern in the Iris of the eye with a bit more detail. I really want to try and explore the patterns within the Iris and possibly for another experiment, create digital versions and lines on-top of the patterns and use those for various design elements. I also experimented with different crops of the image to make a more interesting photograph with what I had. This helped with atypical types of photographs of an eye – i.e. only showing one / using a more panoramic crop showing just both eyes instead of whole face / side of the face.


 Revealing the Unseen